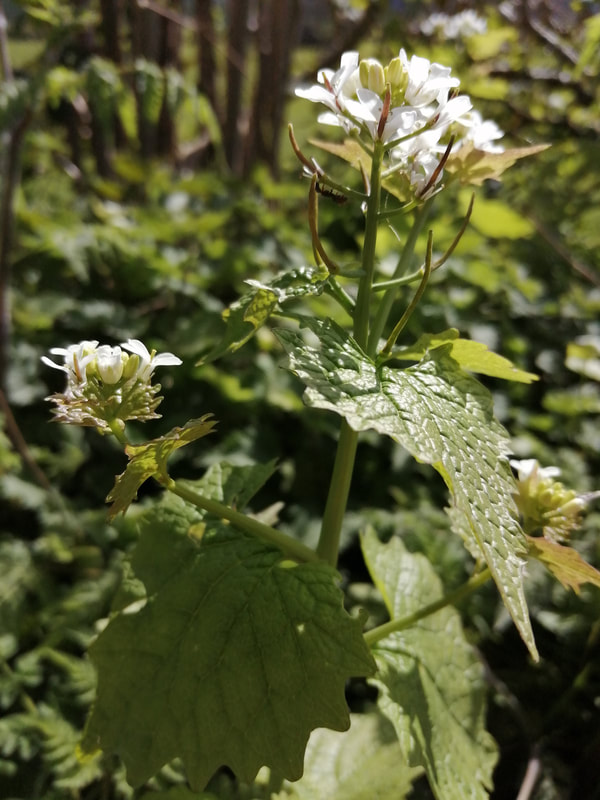
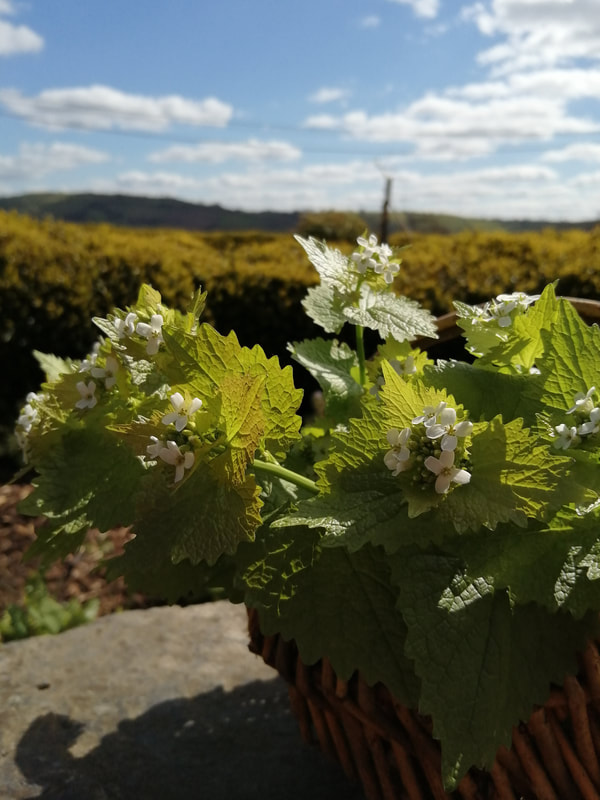
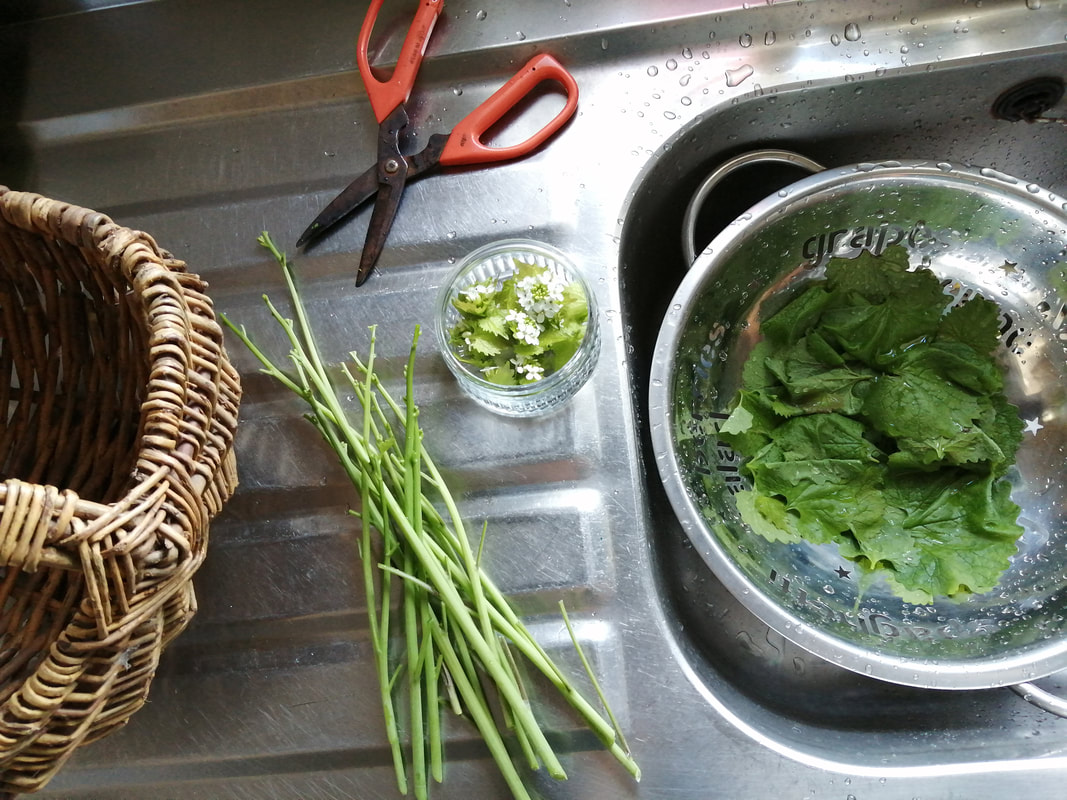
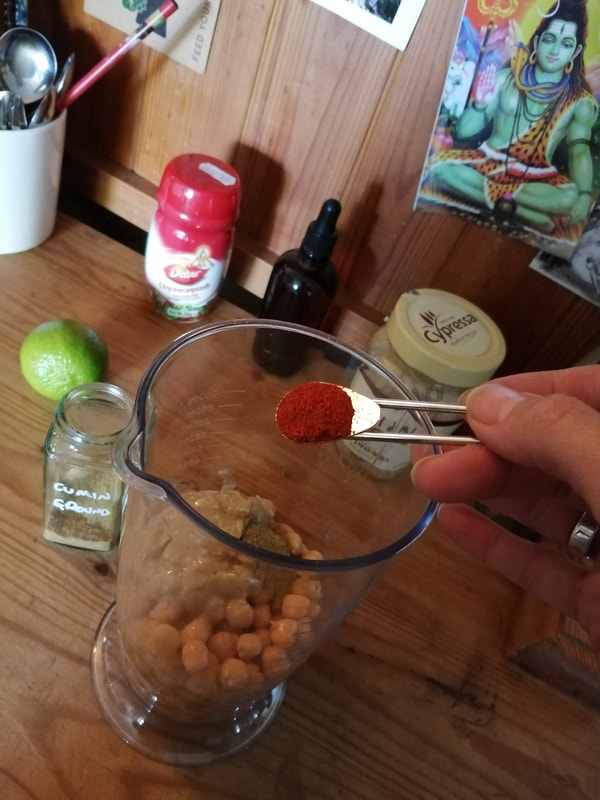
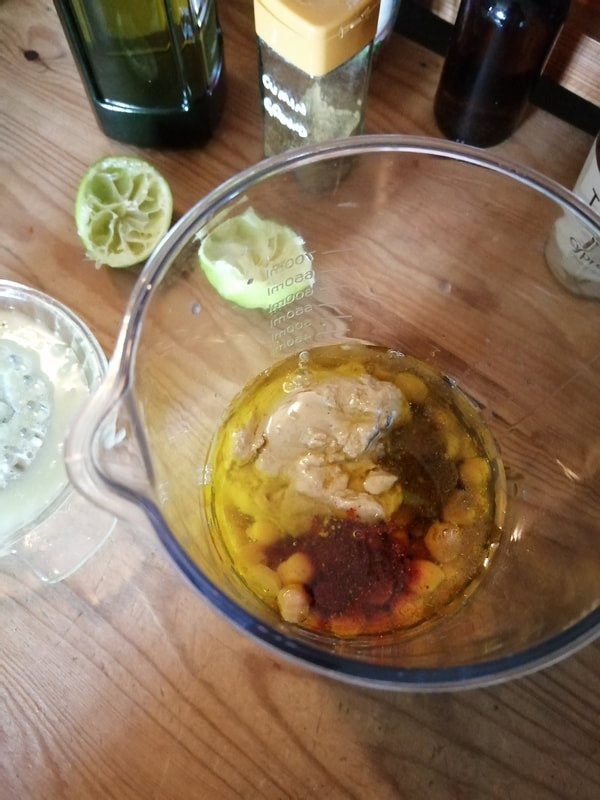
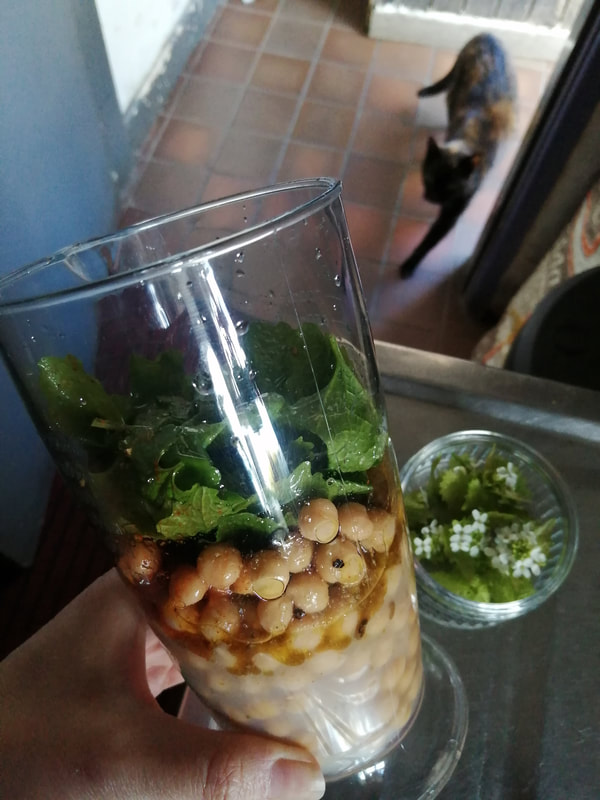
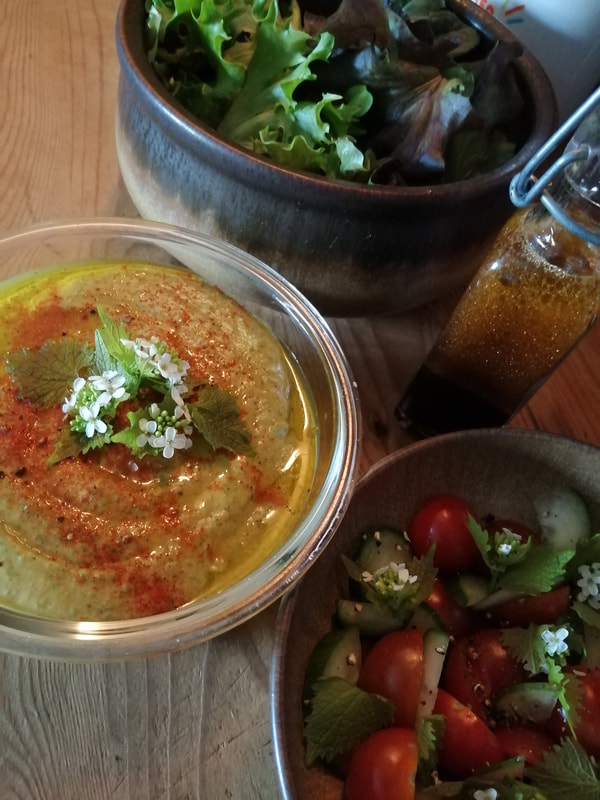
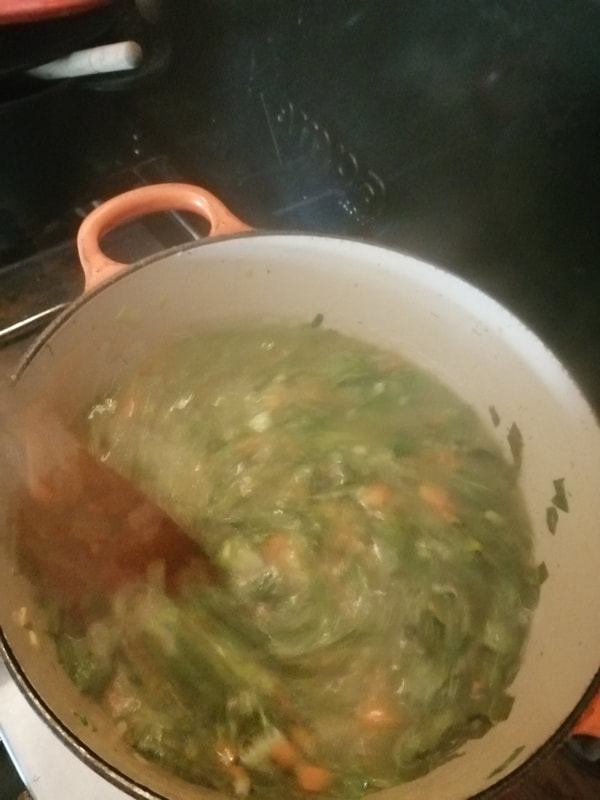
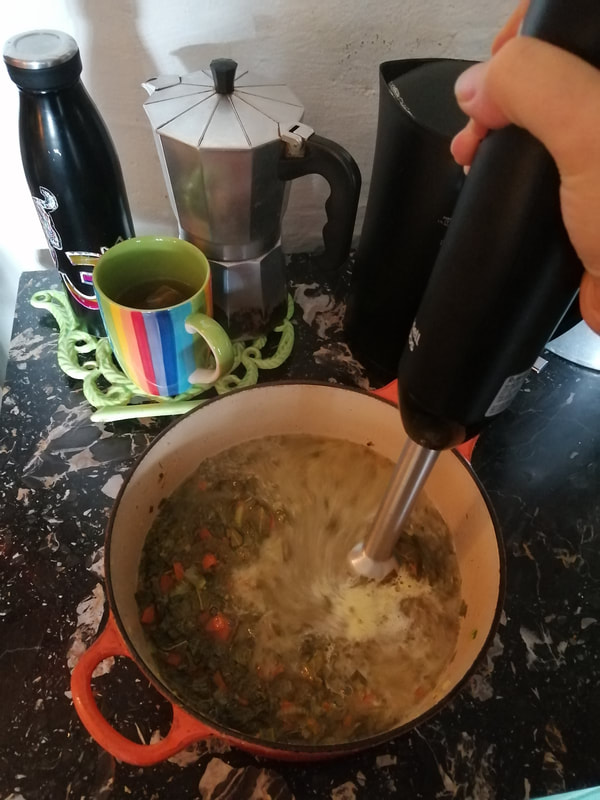
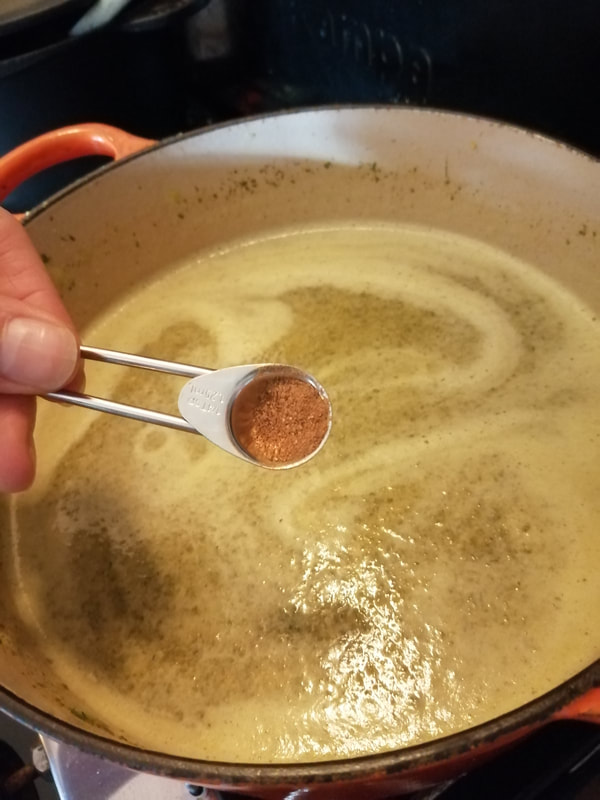
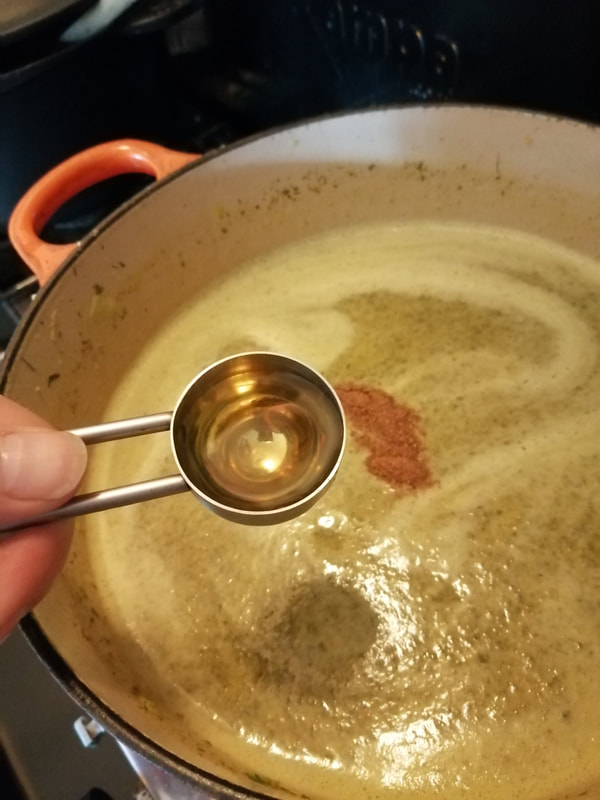
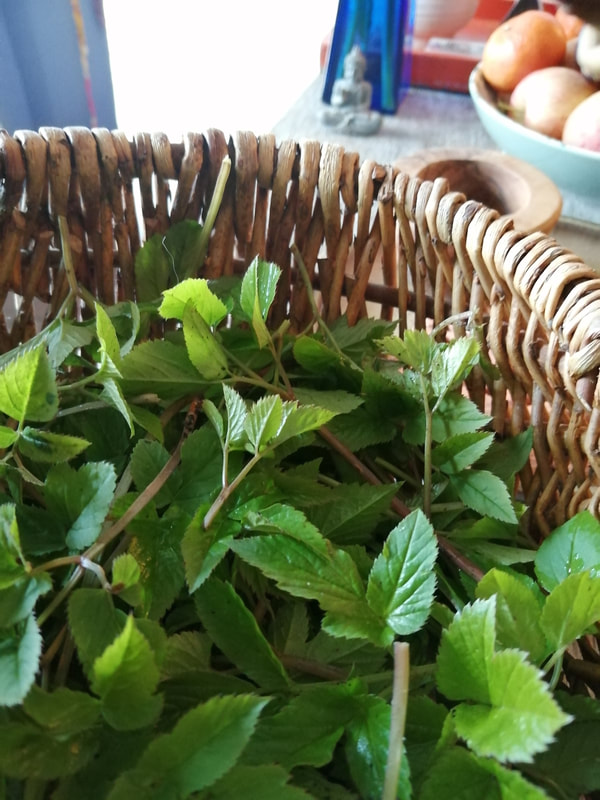
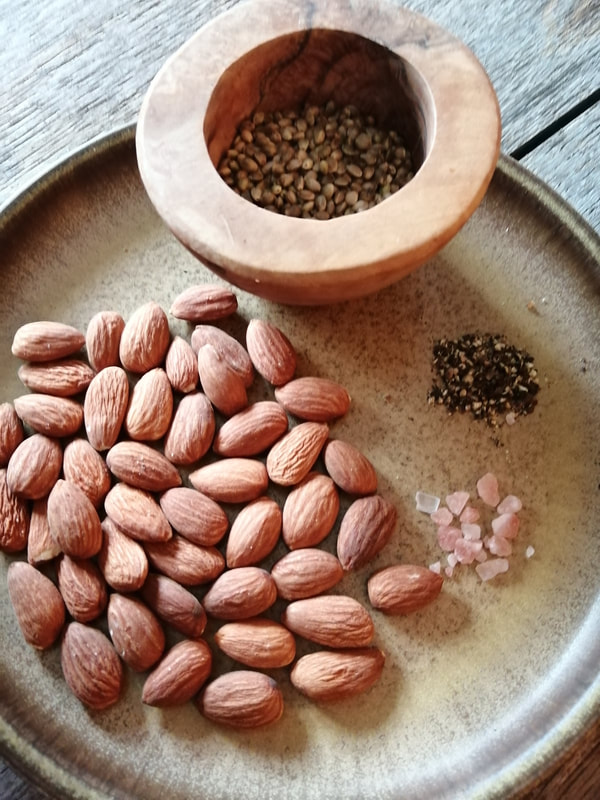
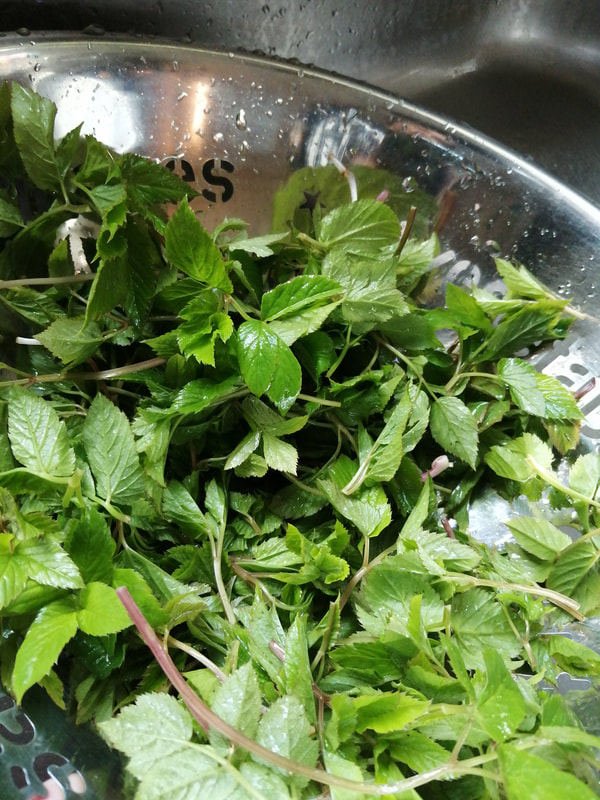
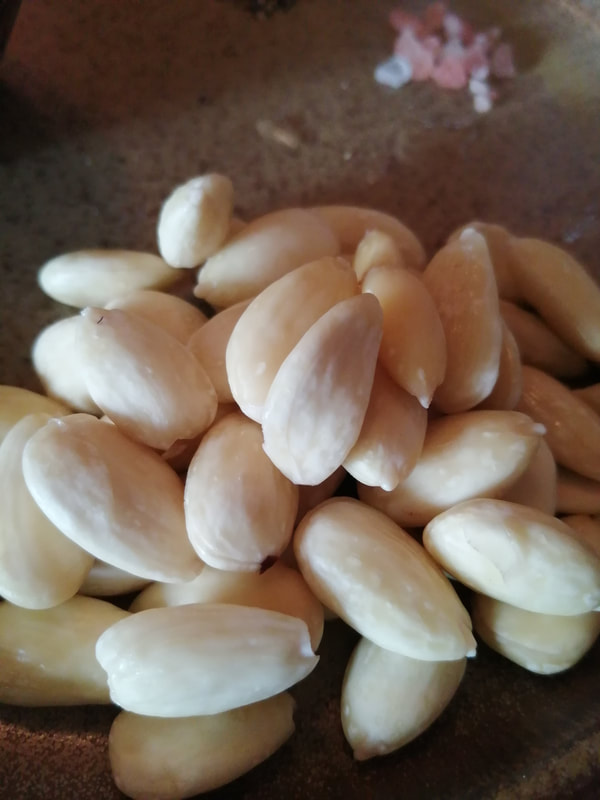
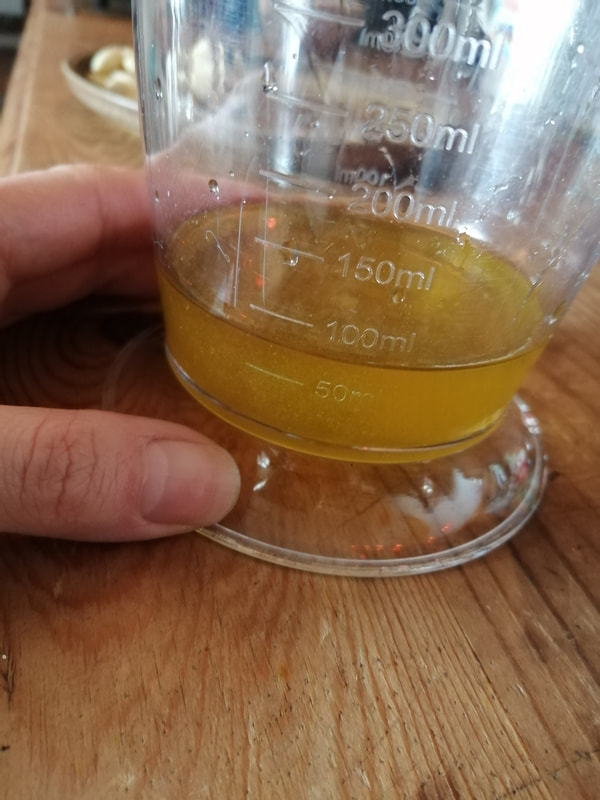
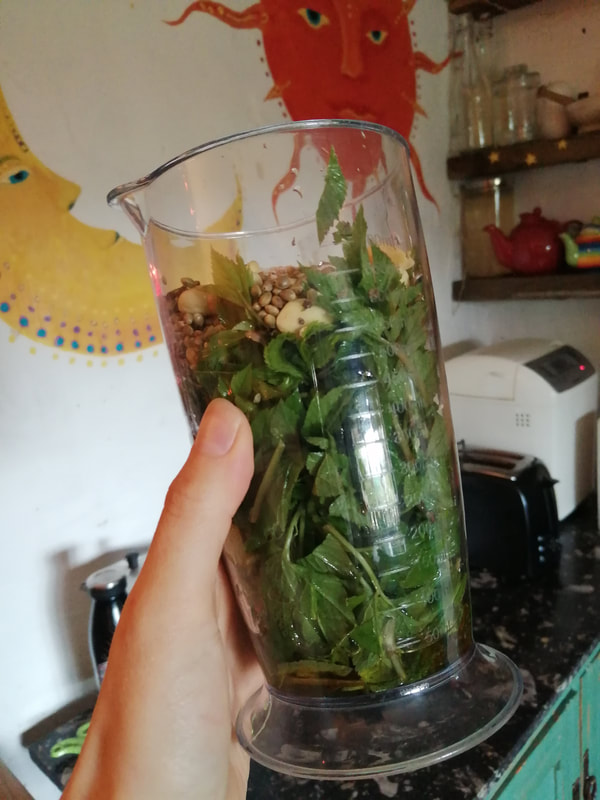
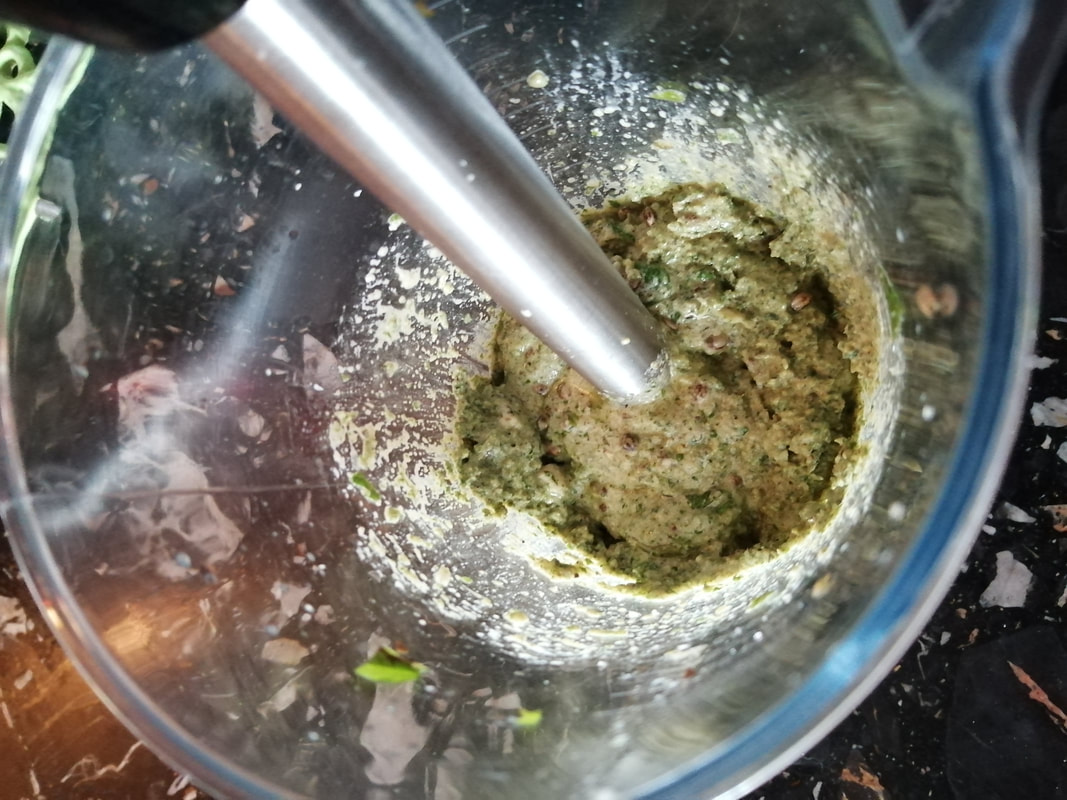
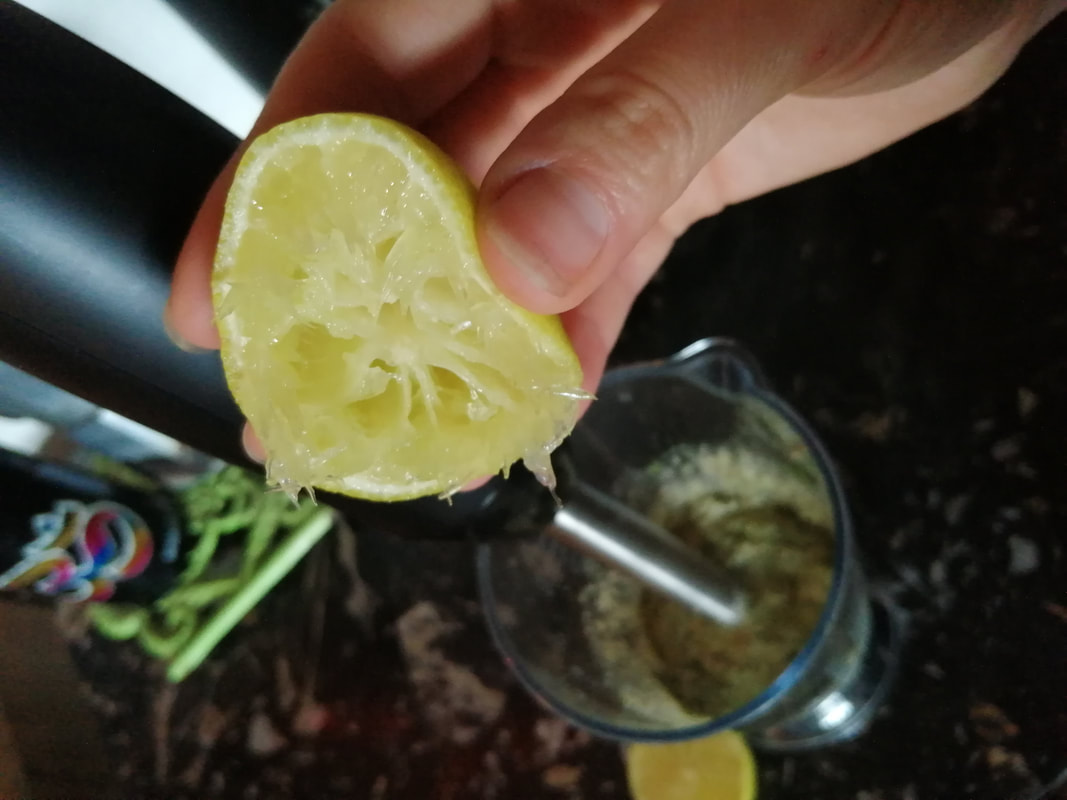
| If you've been following my recent foraging posts and recip(ish)es, you may have noticed a lack of onion and garlic in my kitchen. I've never been able to tolerate raw onion or garlic but as I've got older I find alium generally difficult to digest. Leeks, in small quantities is OK and on the rare occasions I'm eating away from home I can tolerate a little, well cooked onion and garlic but on a day to day basis I just don't cook with it. It's unfortunate for me that onion and garlic seem to have made their way as standard into almost every veggie or vegan dish and tragic indeed that one of my all time favourite foodstuffs, that trusty vegan staple that is houmous, is so often 'polluted' with the travesty that is actual raw garlic. Shock horror! I've found that it's perfectly possible to make an entirely satisfying houmous (my houmous has been variously described as 'delicious', 'banging' and 'a triumph') by simply eliminating the garlic... But never let it be said that I'm not up for an experiment... And there's a new kid in the hedgerows! I'd like to introduce the biennial, native, garlic mustard! An attractive, delicately flowered, broad leaved relative of cabbage, mustard and watercress amongst others, you can use every part of this pretty plant in the kitchen. While the root can be said to have a horseradishy or wasabi like flavour, the leaves and flowers are great in salads and in cooking as an alternative to garlic. Therapeutically, garlic mustard has been used as an antiseptic, for bruises and sores, coughs, colds and according to one text even kidney stones, though thankfully I've never had to try that one! It's the latest foragable to have burst up around Llanrhaeadr anyway so I thought I'd give it a go in some garlic free houmous! Happily, it was a great success and it'll definitely become a regular ingredient in houmous for me during its growing season, which should theoretically get me right through into September! Here's an approximate guide for how to make delicious, banging, triumphant garlic mustard houmous. It's tasty, nutritious and super quick to make. I know every recipe says that and no, I never make a '30 minute' recipe in half an hour either, but it is simple. Really. Check out the gallery photos for visuals on quantity... And see if you can spot the kitty! | 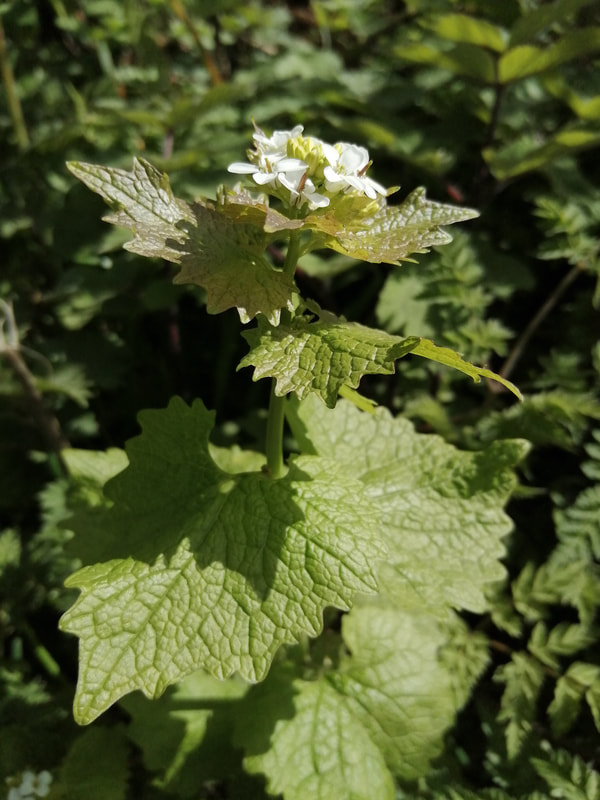 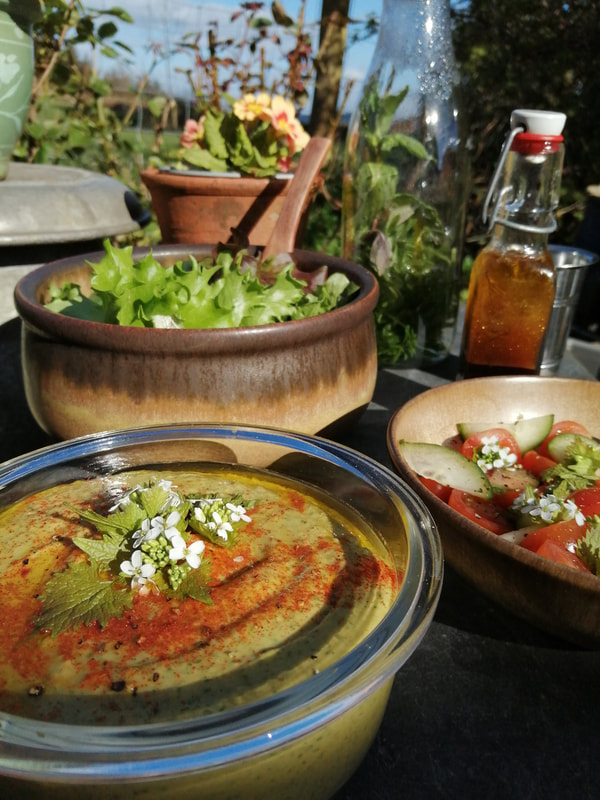 Garlic Mustard Houmous:Pop a roughly drained tin of chickpeas into your blender jug or a vessel you can use a stick blender in. For 'rustic' houmous and if you've not got a blender, you could in theory use a potato masher, but, no. Get yourself a stick blender, they're great. Add a couple of generous tablespoons of tahini, about a quarter teaspoon each of ground cumin and smoked paprika, then add freshly ground black pepper and sea or mineral salt to taste. Glug a good dose of extra virgin olive oil to cover the lot and prepare your garlic mustard; simply snip the leaves and flowers off a ten to twelve stem bunch of the herb, keeping the flowers separate for decorative purposes! Wash and drain the leaves and add them to the vessel along with the juice of a lime (lemon is more traditional, I like lime) and blend the lot until it's smooth. Avoid adding more water if you can, you don't want it too runny! Et voilà, garlic mustard houmous! Rich, creamy houmous with a garlicy tang, a gentle mustard after-glow and absolutely no alium related indigestion! There shall be much rejoicing! Serve with salad, crackers, fresh bread, crudités, grissini... Or my favourite, a great, big, steaming, hot baked potato! It will keep for a couple of days in the refrigerator, but you'll probably eat it all long before that's an issue. Bon appetit! You'll be making it again, I promise! |
|
0 Comments
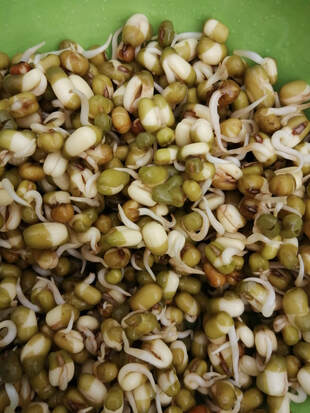
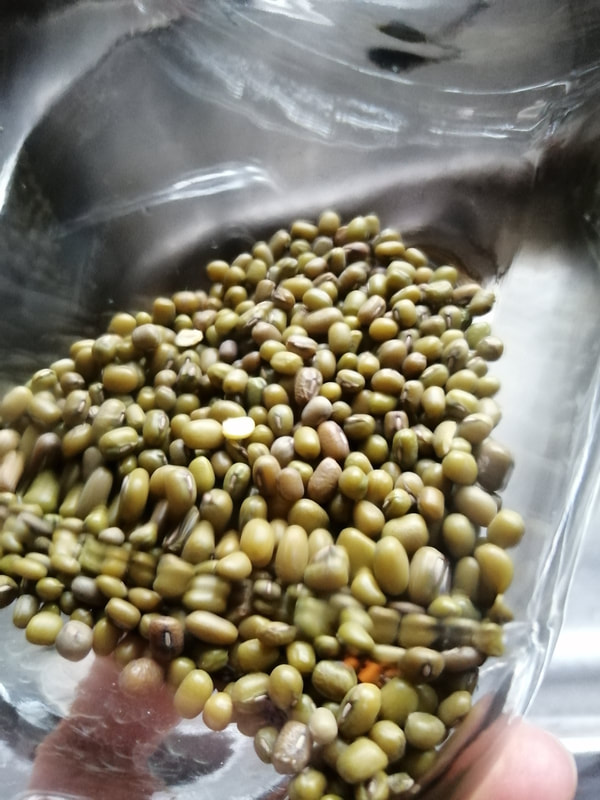
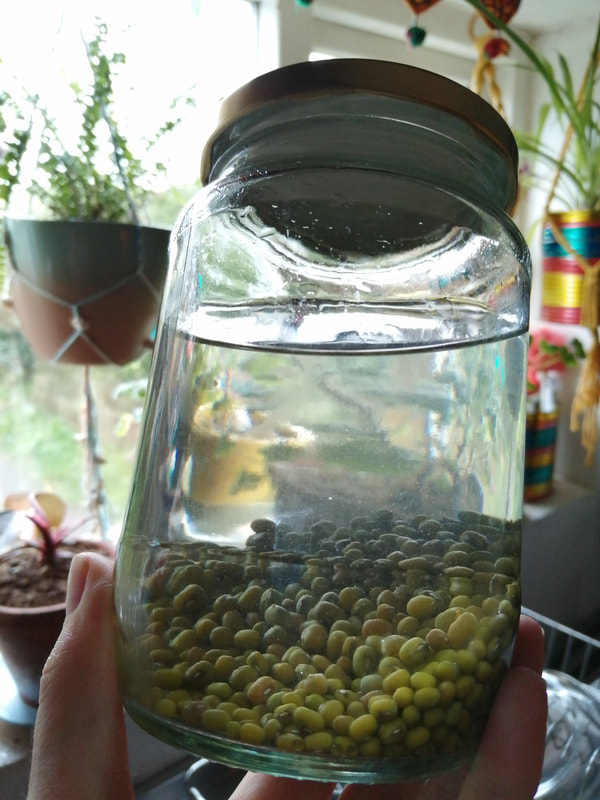
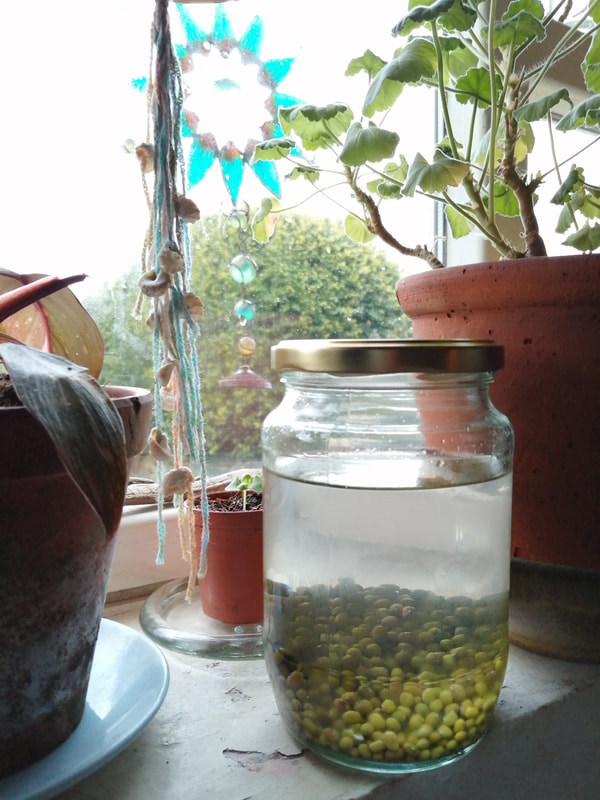
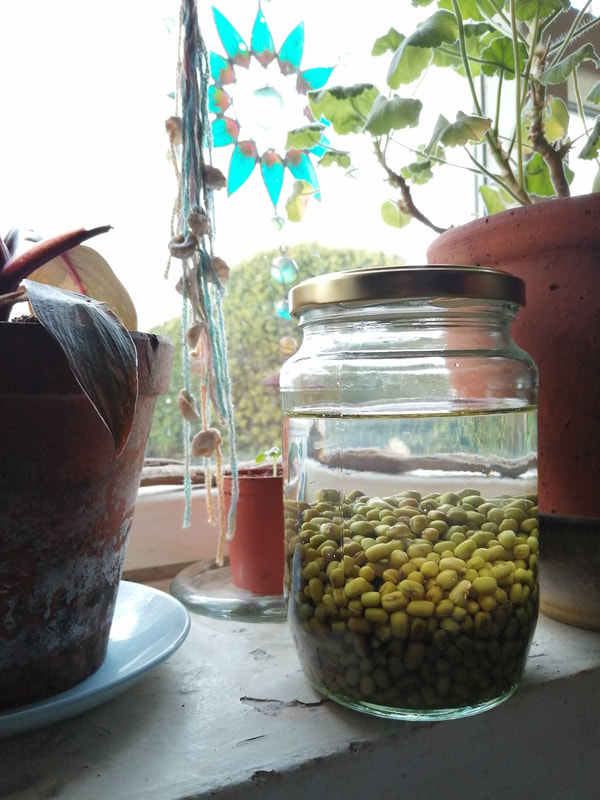
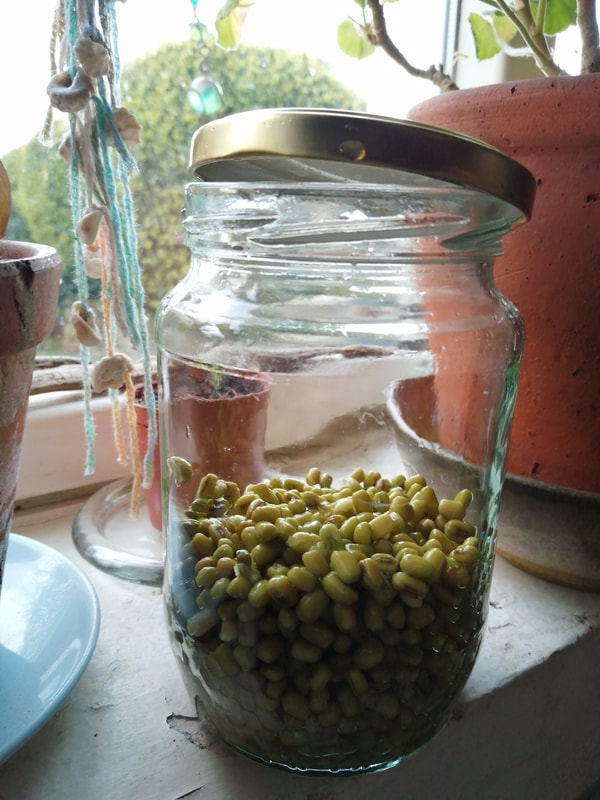
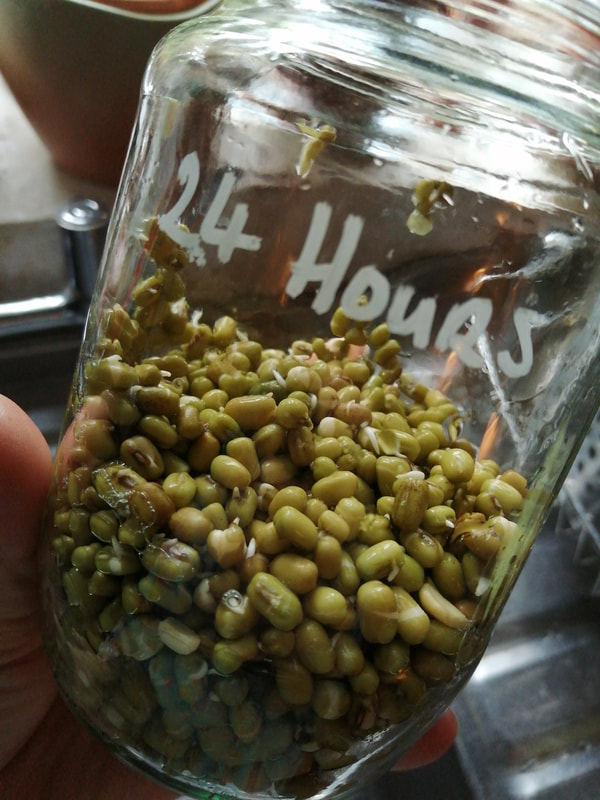
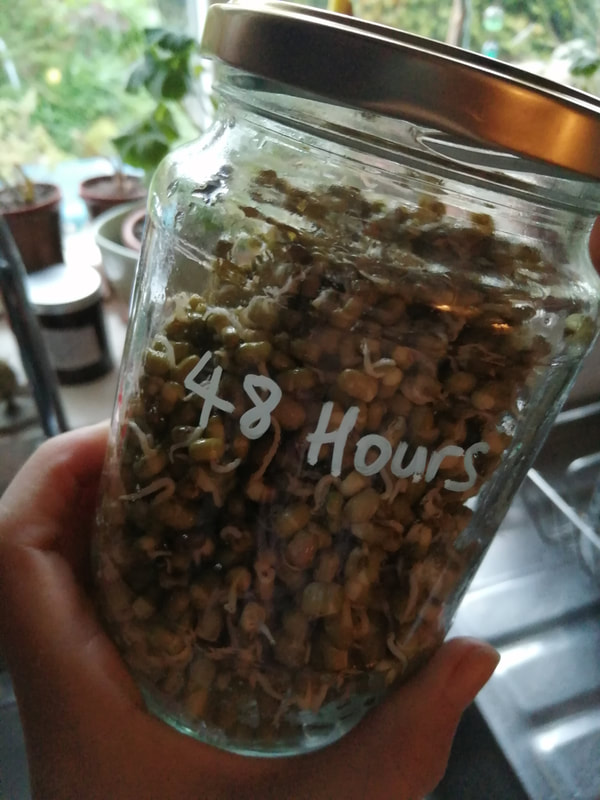
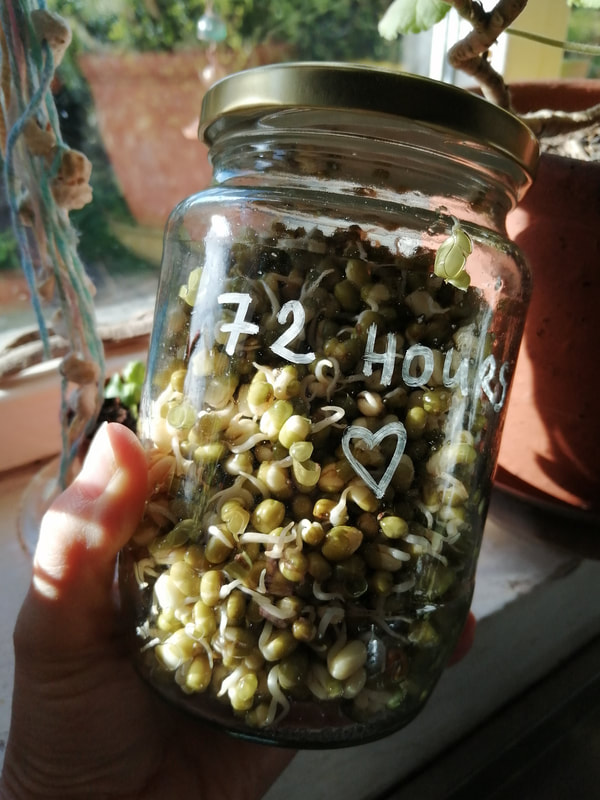
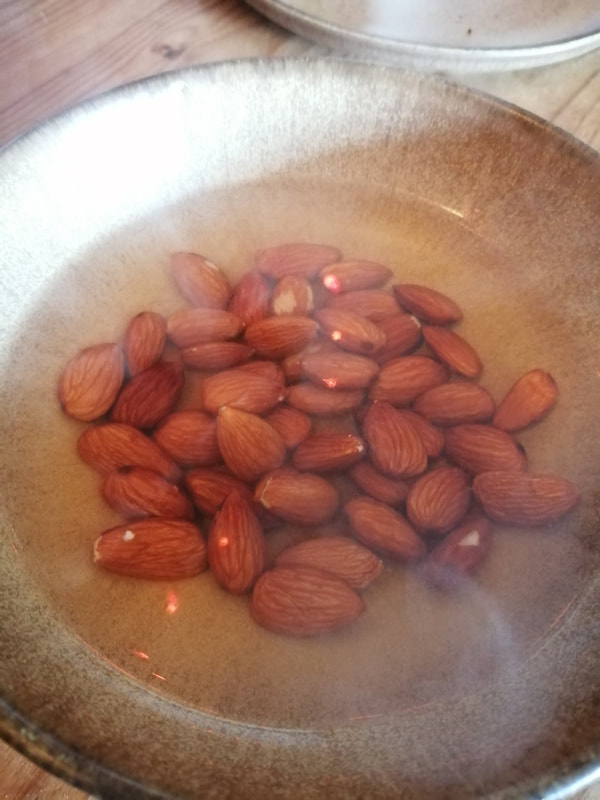
Best of all, the process couldn't be easier, with minimal daily maintenance. I usually use mung beans or green lentils but you could use any whole bean or pulse as well as seeds such as sunflower or alfalfa. You can buy special sprouting mixes online and in most health food shops but I like just working with what I've got on the shelf!
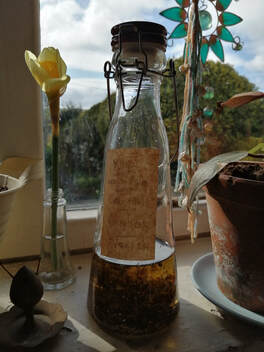
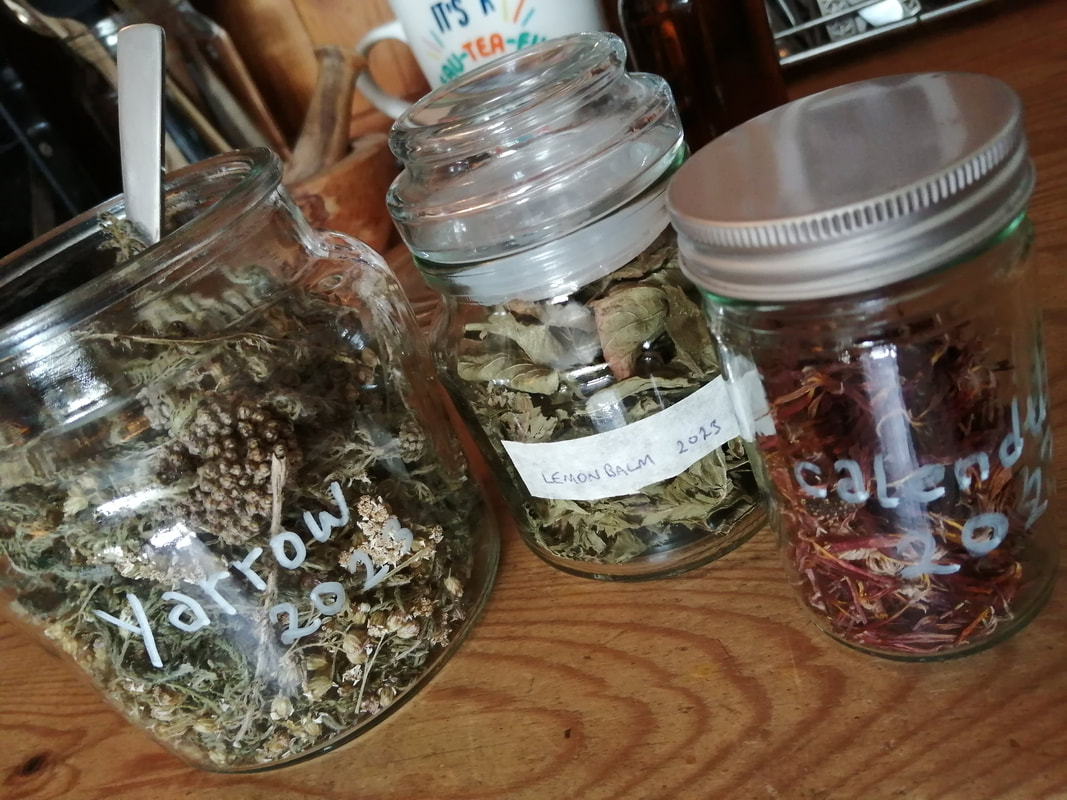
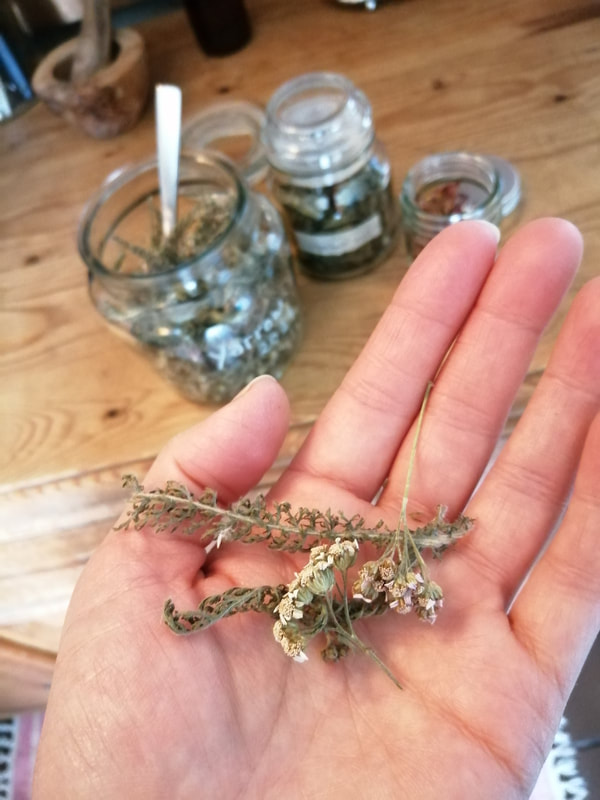
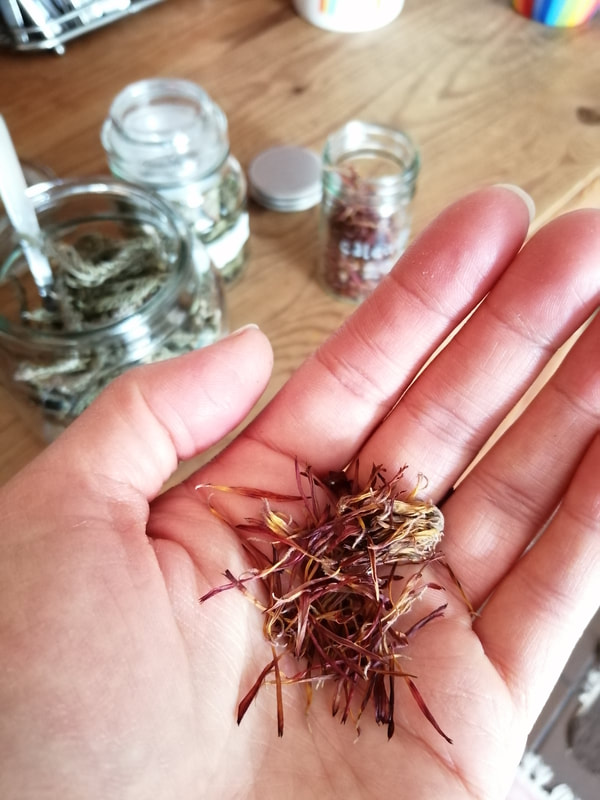
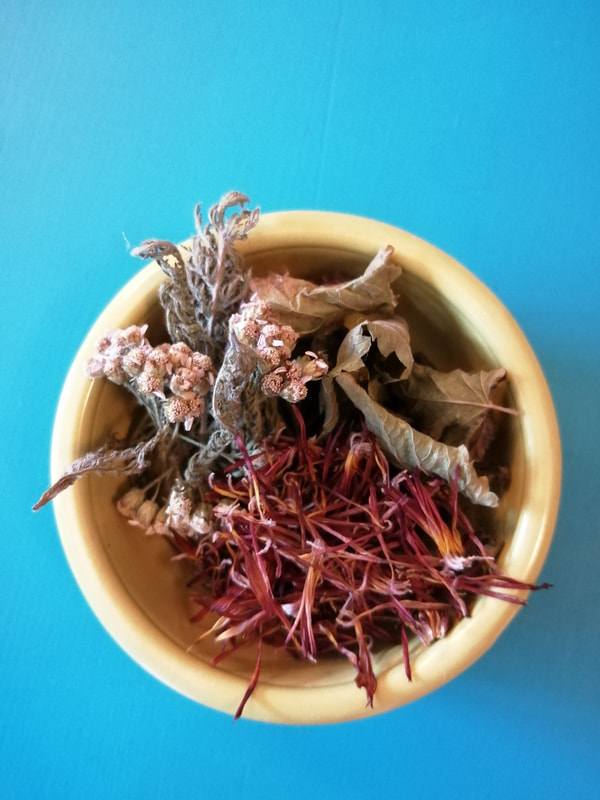
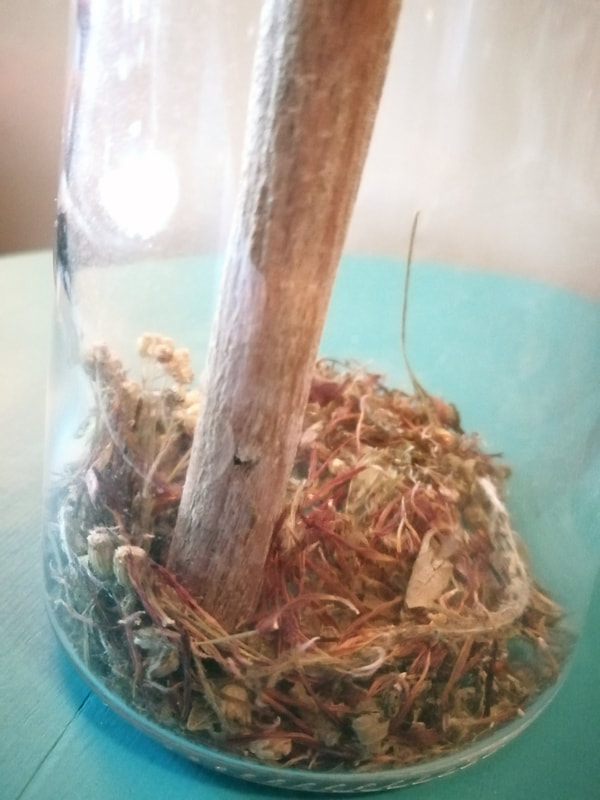
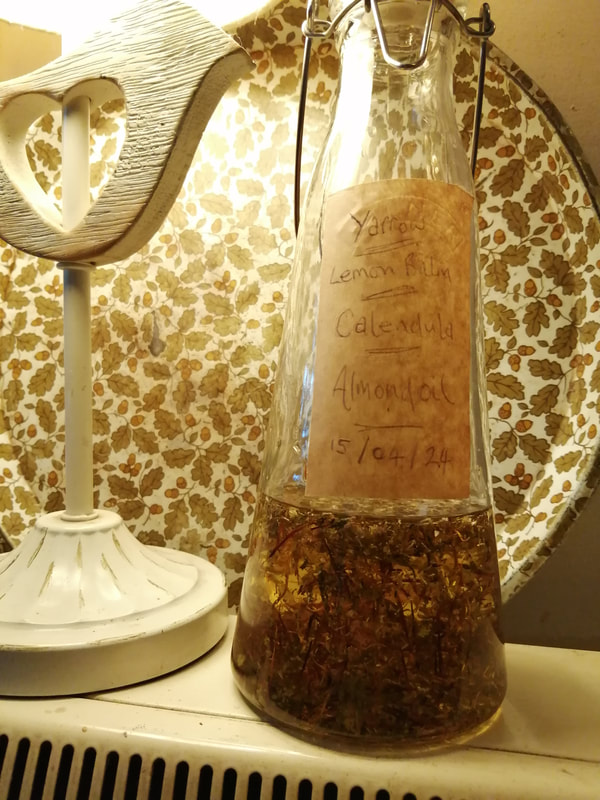
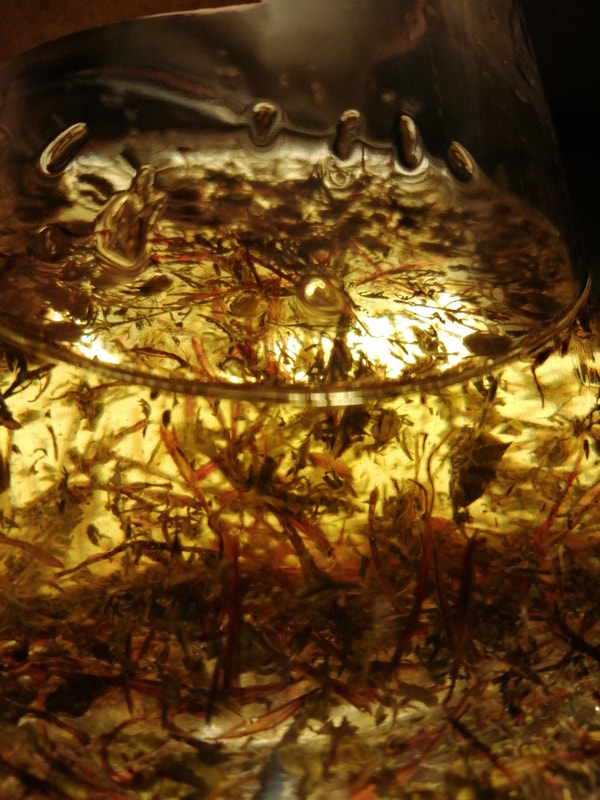
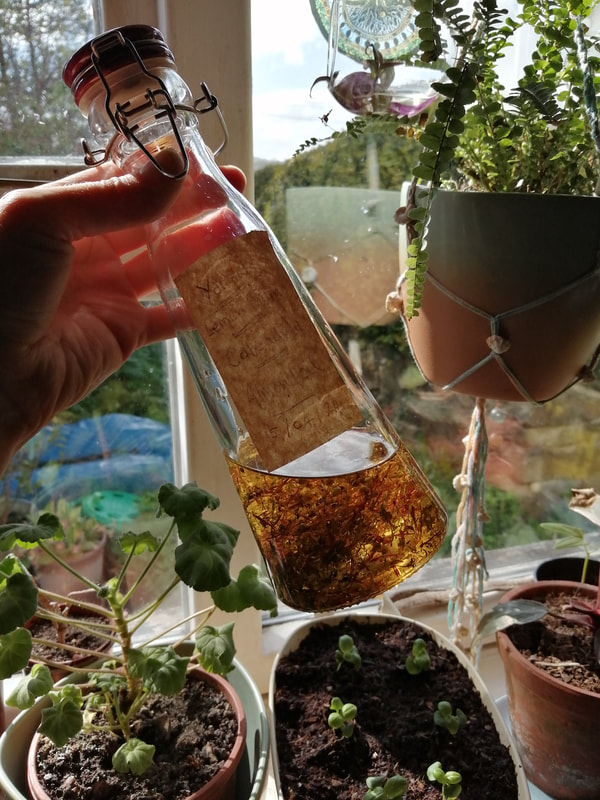
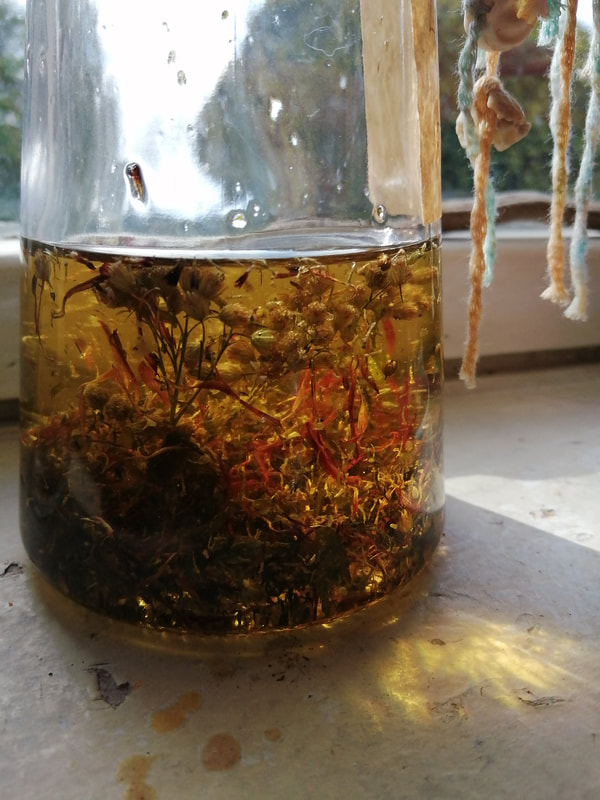
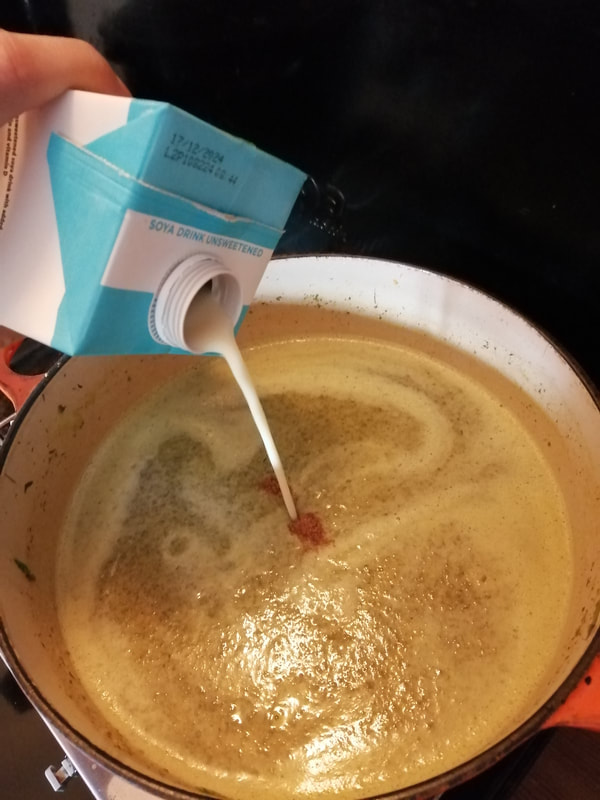
Heat infusion is a little more involved; with your herbs and oil in a good heavy saucepan, you need to be giving the blend enough heat for the herbs to release their compounds but you're certainly not aiming for a fry-up! Low and slow is the best method. Some sources even recommend heating to less that 40°C for three days! That's not practical enough for me so I'll just pop it on as low as I can while I'm pottering in the kitchen, maybe a few hours if it's a busy morning. When it's cool, it can be strained into bottles and used. For either of these methods, it's good practice to make sure your glass vessel is sterilised with boiling water but do make sure its completely air dried before adding any oil. With the solar method, you also want to allow plenty of space in your jar, to give it a shake every so often and to make sure the herbs don't swell so much they come above the level of the oil. If that happens, you'll need to top up with a bit more oil. Yarrow, Lemon Balm and Calendula; Heat and Solar Infusion:
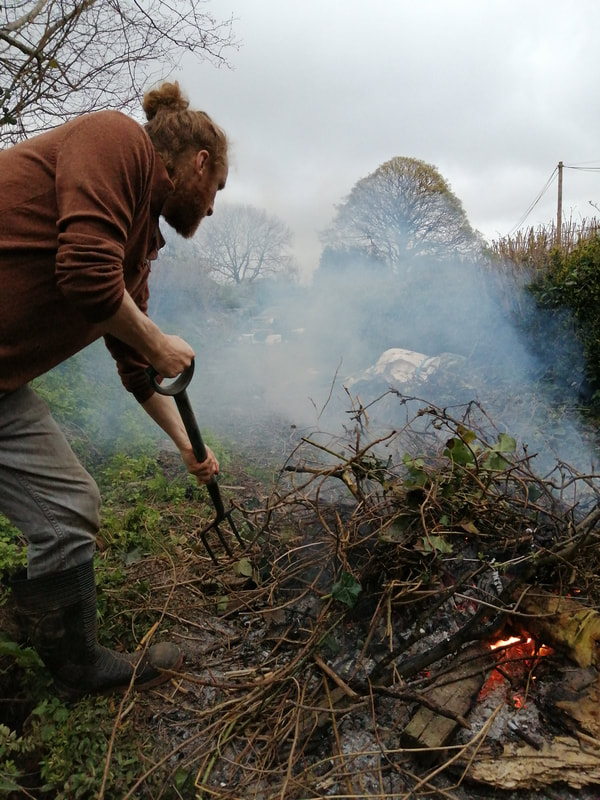
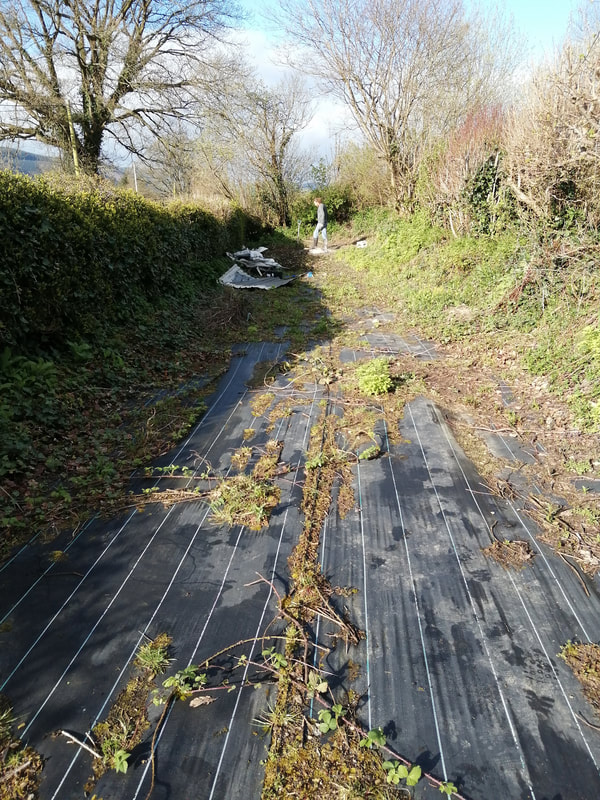
In our initial ‘mission statement’ we openly aspired for the Earth Heart project to be about placemaking, to offer a space to come to for connecting with a quieter, more natural environment, to spend time recovering and healing. Creating that place from our current circumstances is a big aspiration indeed, but it’s achievable. This weekend, we made some progress in that direction and we’re both feeling inspired, energised and motivated in having done so!
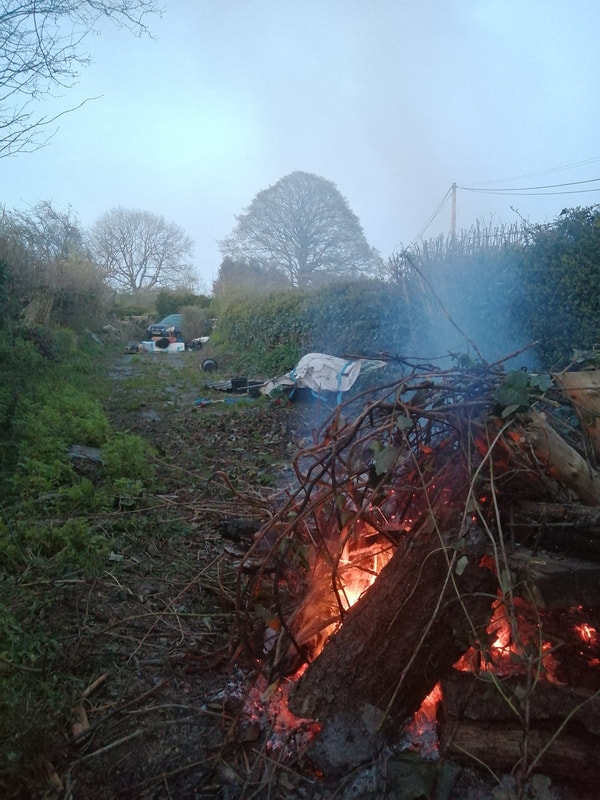
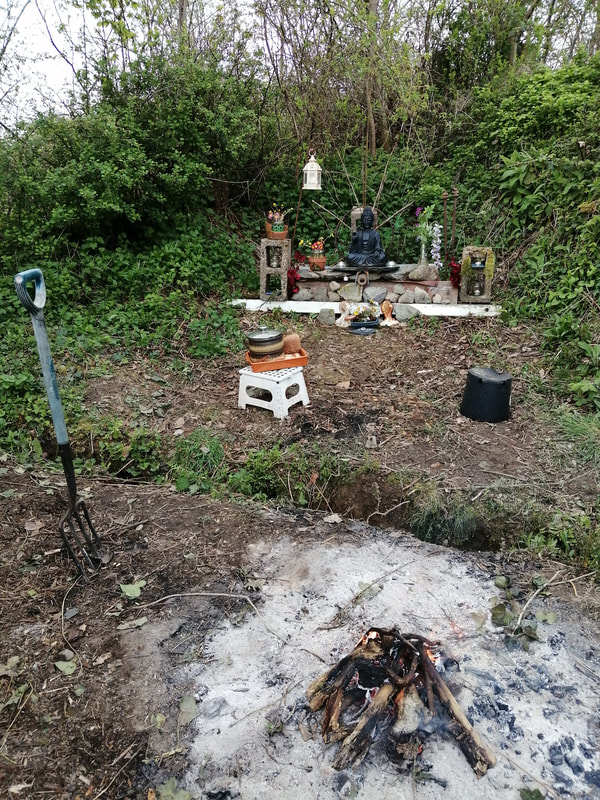
It took a few hours to really get going but by evening (and following a few cleansing sacrifices of old art work and bundles of herbs from last years harvest) most of the pile had been sent up to the heavens on a cloud of sparks! It was certainly a cosy fireside to sit by, gazing in to the flames and sharing our imaginings for the land.
As I bade a grateful goodnight, I was strongly in touch with a sense of each of the elements weaving their magic into support all we hope to achieve, lending their blessings and their energies to the vision of the Earth Hearth project.
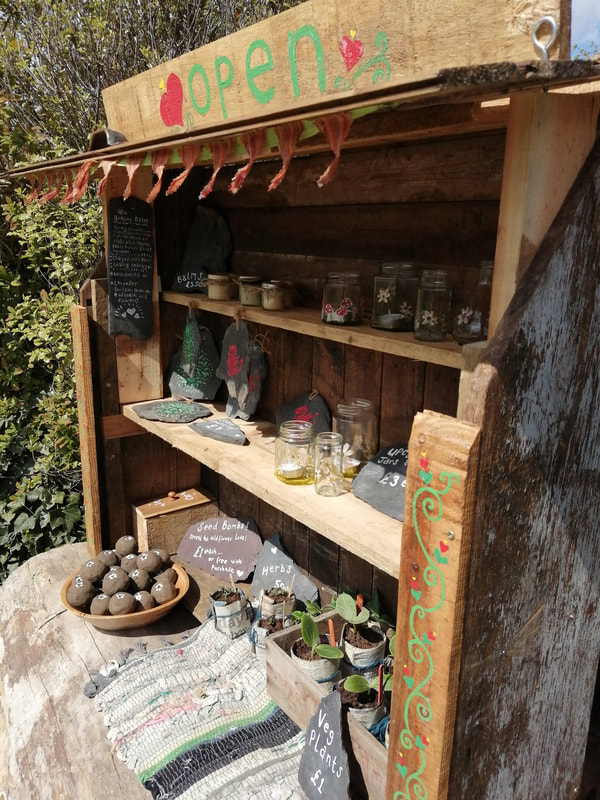
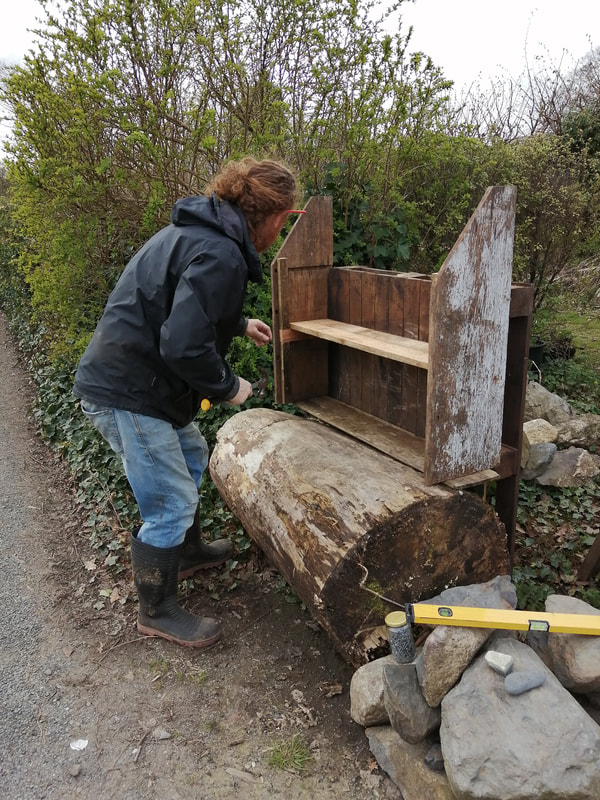
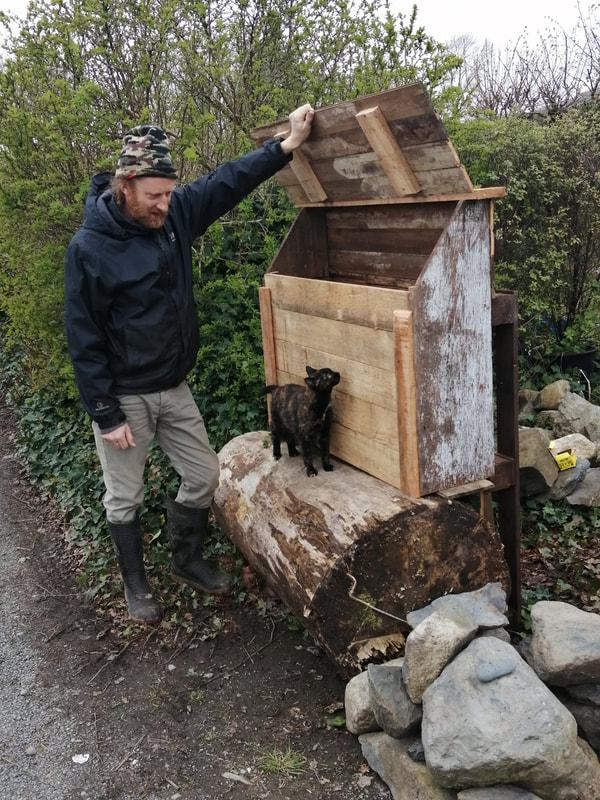
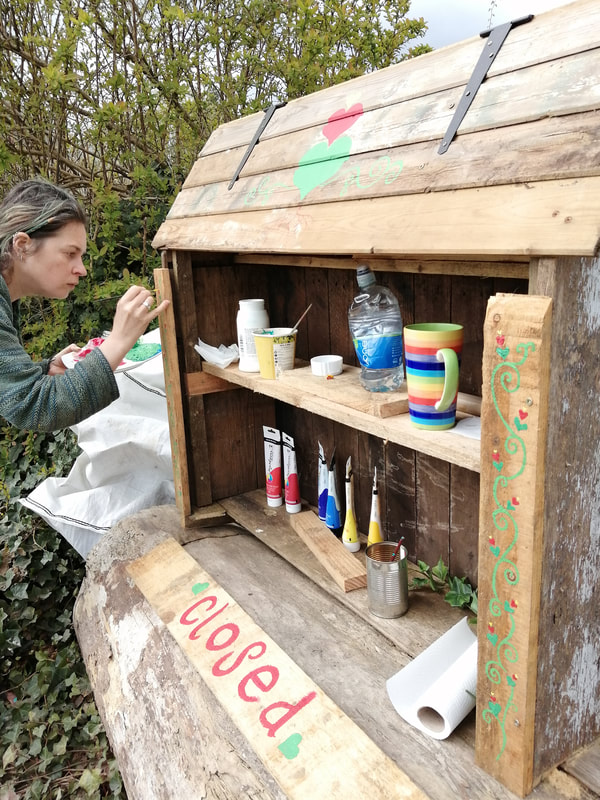
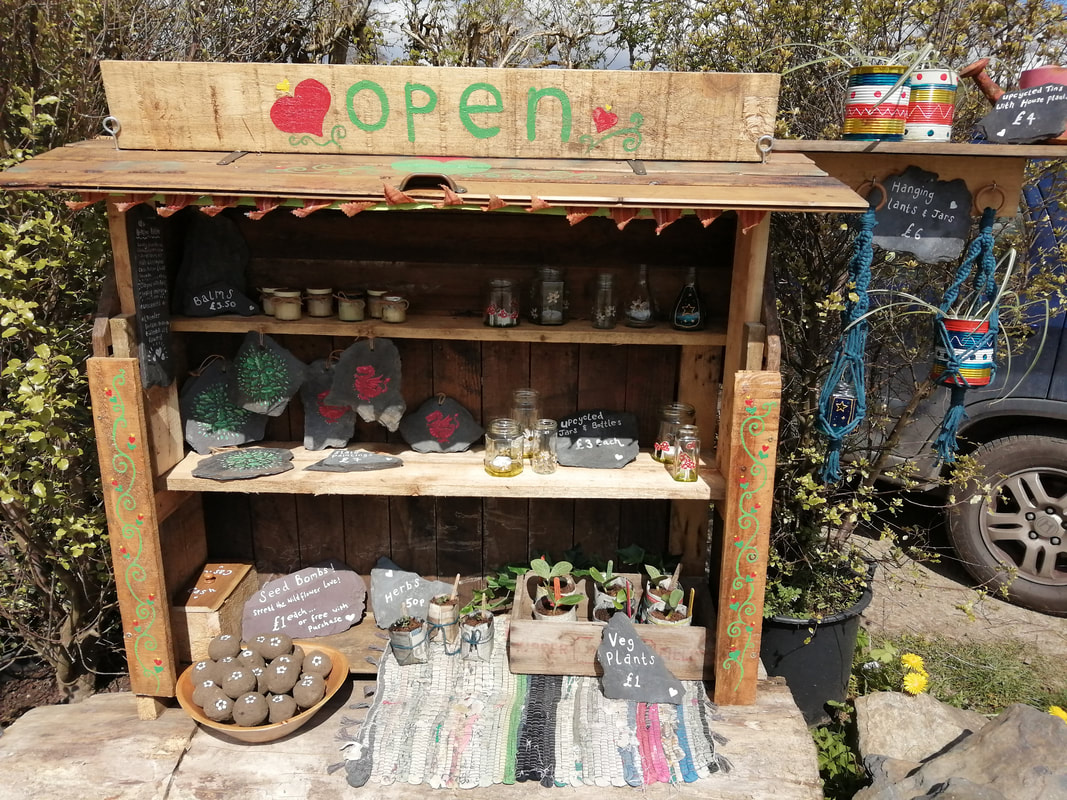
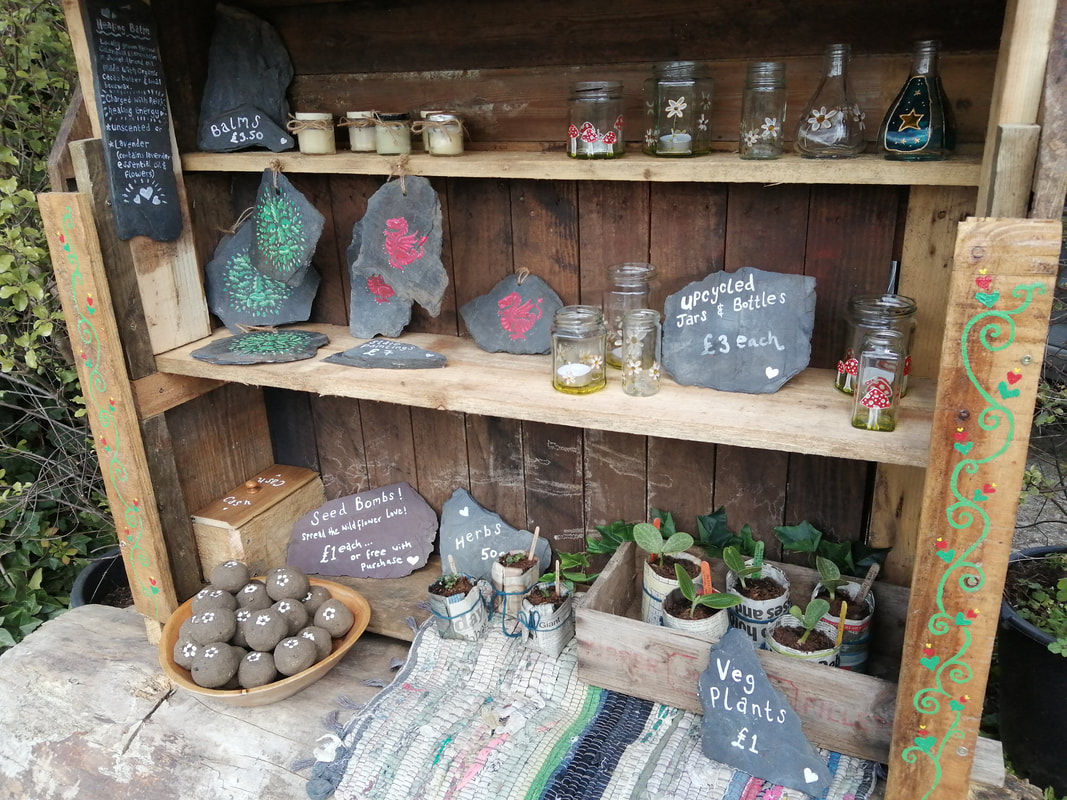
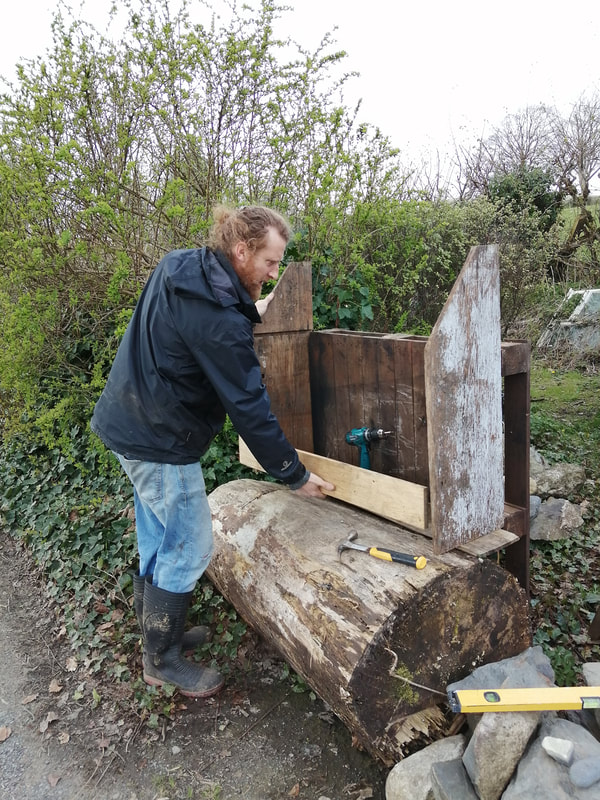
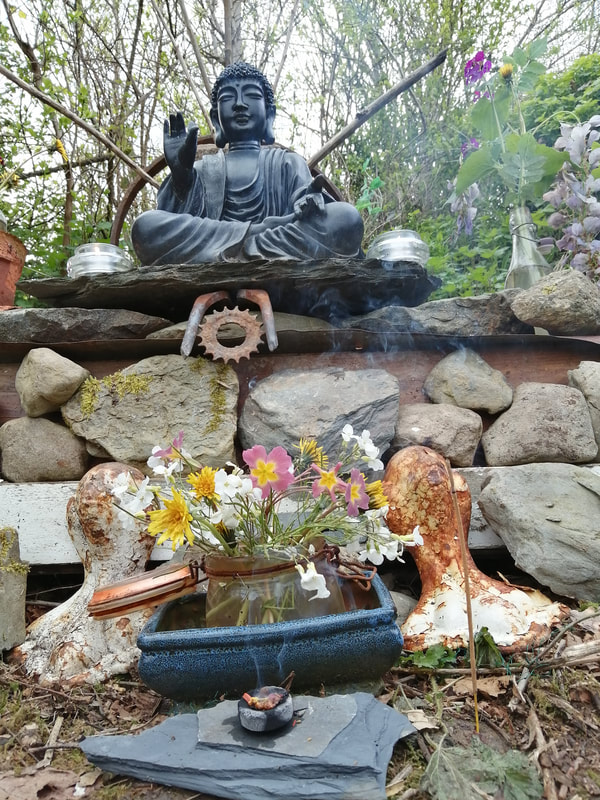
 The foraged shrine, built from the old to invoke new unobstructed success and generosity! Old door frames supported the front whilst various other found objects first jostled but eventually nestled between carefully placed stones and rocks from the pig hut. I rustled up a few make-shift candle holders and vases from jars and bottles then it was time for the finishing touches.
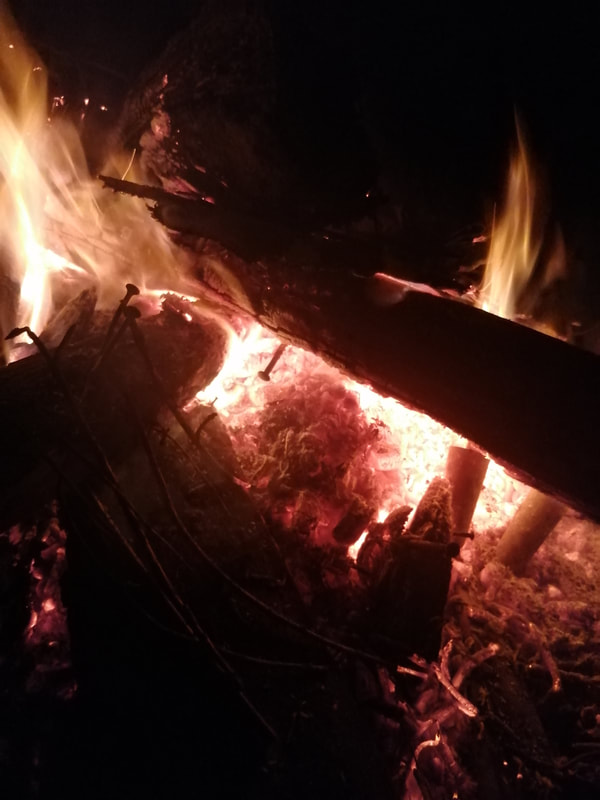
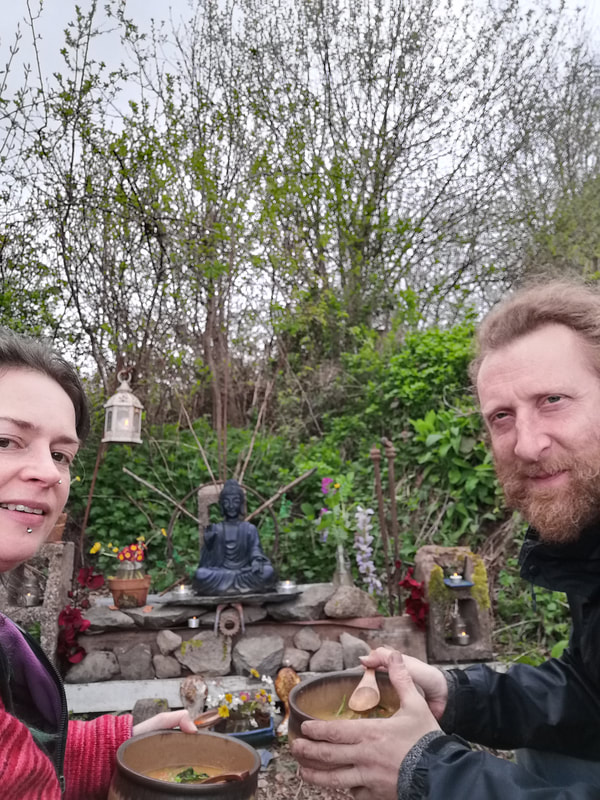
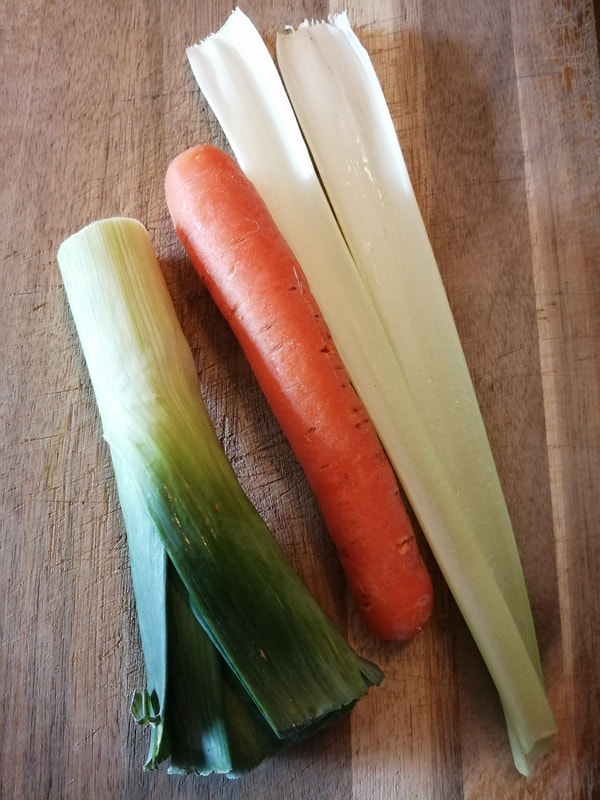
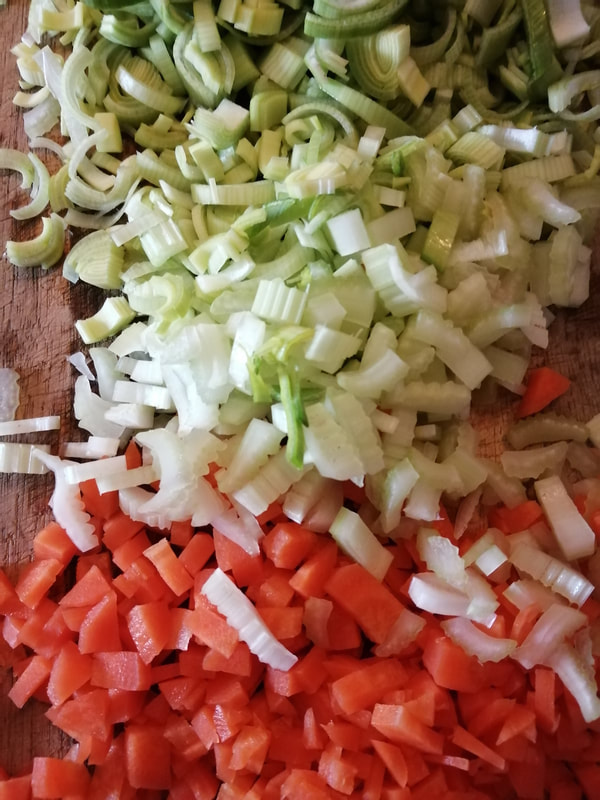
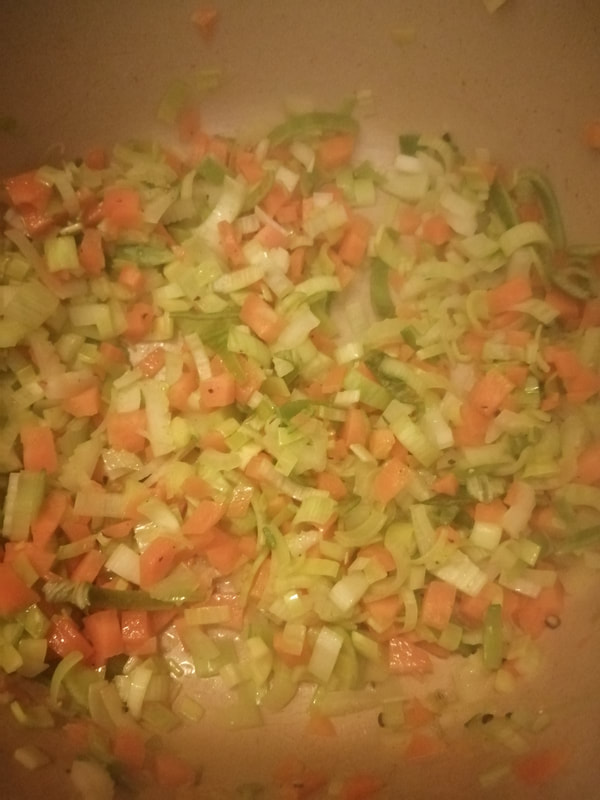
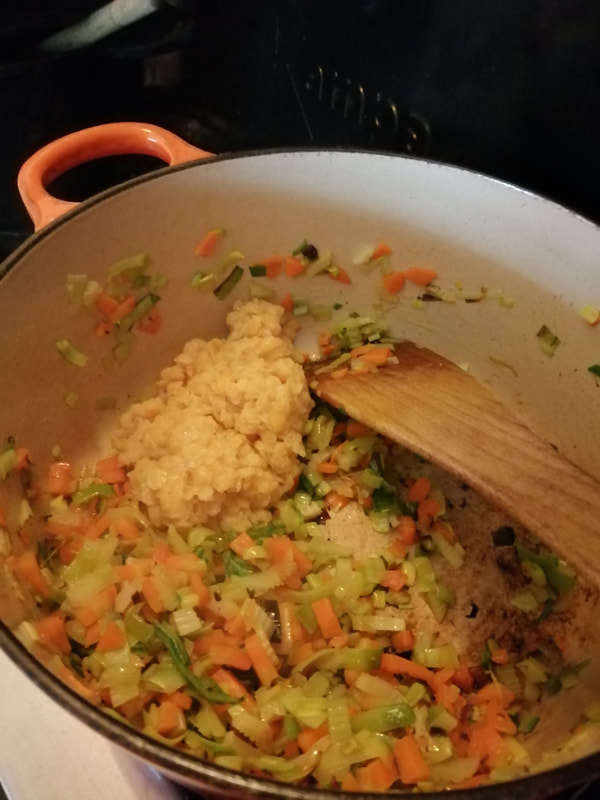
By this time, we were both getting close to the end of our energy for the day but we weren’t quite ready to go back under a roof so I knocked up some bowls of soup for us to enjoy by the last of the fire and the glowing candles of the new shrine. We chatted as we ate, soaking up the cleared space and sharing that we both feel we’ve made significant progress on the land this weekend. It might not seem like much; Earth Heart is never going to be a shiny new enterprise of business plans, bank loans and brand new kit. It’s going to burst from the grass roots of the land itself, crafted by what we find and what is given to us by circumstance and serendipity. But it’ll be real, it’ll be authentic, it’ll be stitched together with love and that’s what’ll make it special. It looks like the weather’s going to take a cold turn again in the coming days and I’ll be back at Taraloka next week for voluntary cooking on a retreat but if the weather picks up again in the last week of April (surely it’s got to!?) I don’t think it’ll be long before we’re giving our tent it’s first outing of the season. It won’t be the six meter bell tent we’re envisaging in the long run but it’ll be lovely to be back under canvas; and to take the next step in the dream of loving and living on the land at Earth Heart!
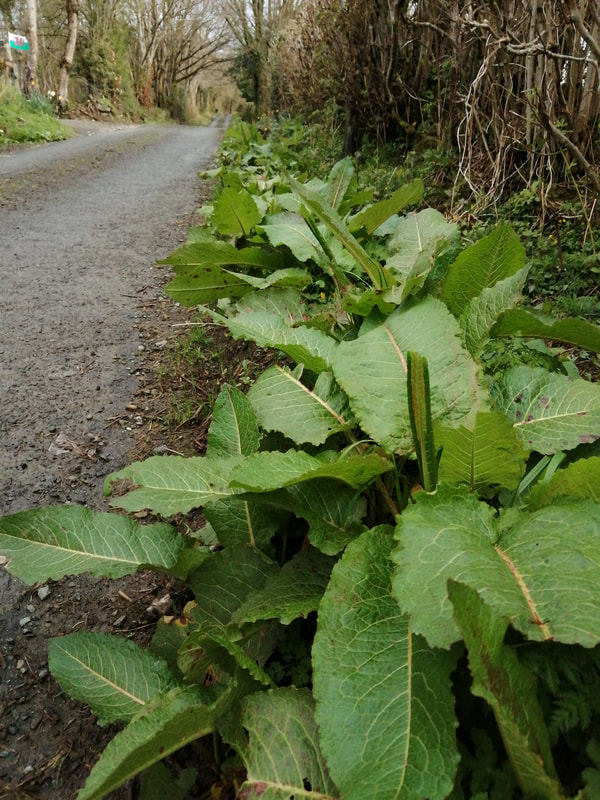
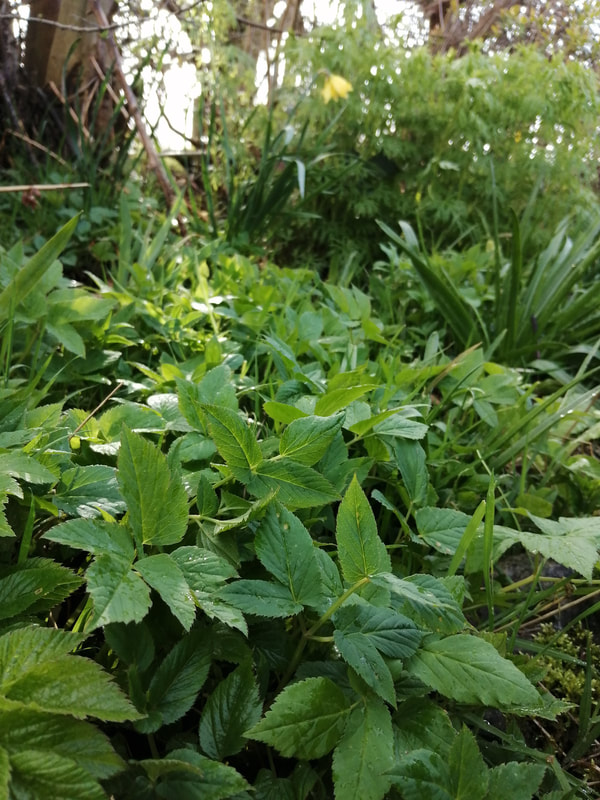
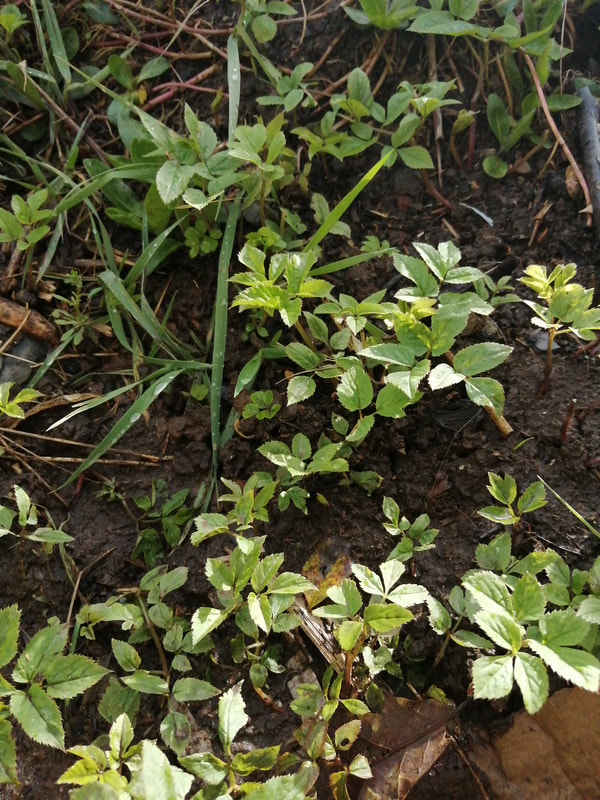
There's so much burgeoning growth in the hedgerows at the moment that I can't quite believe my luck and it seems like there's just one new plant after another unfurling itself and begging for a forage in recent weeks!
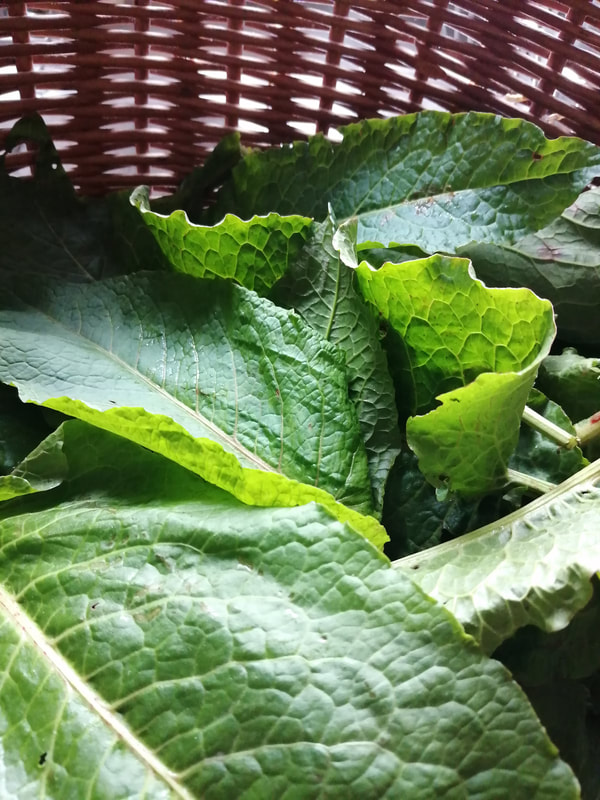
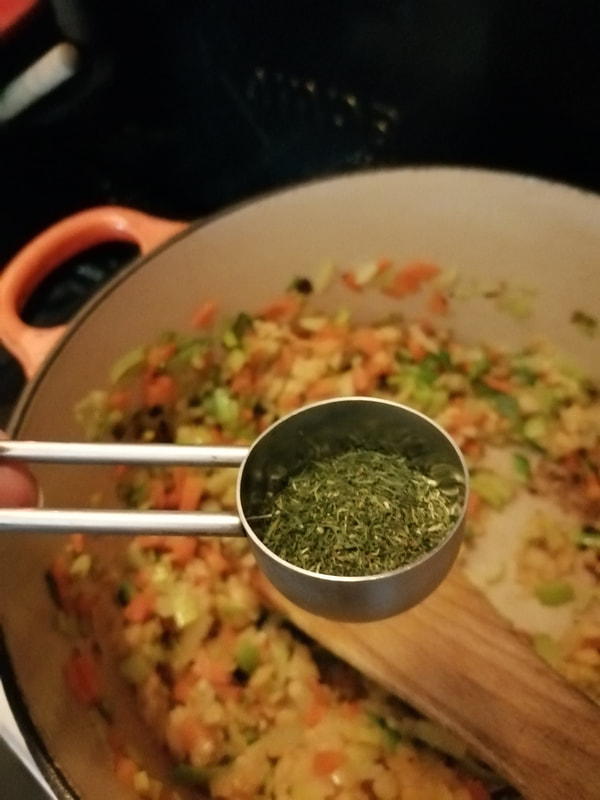
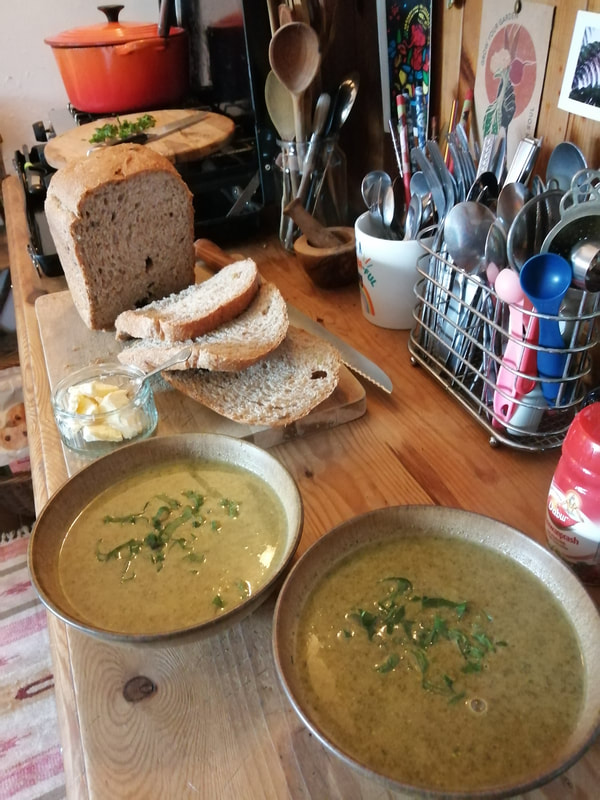
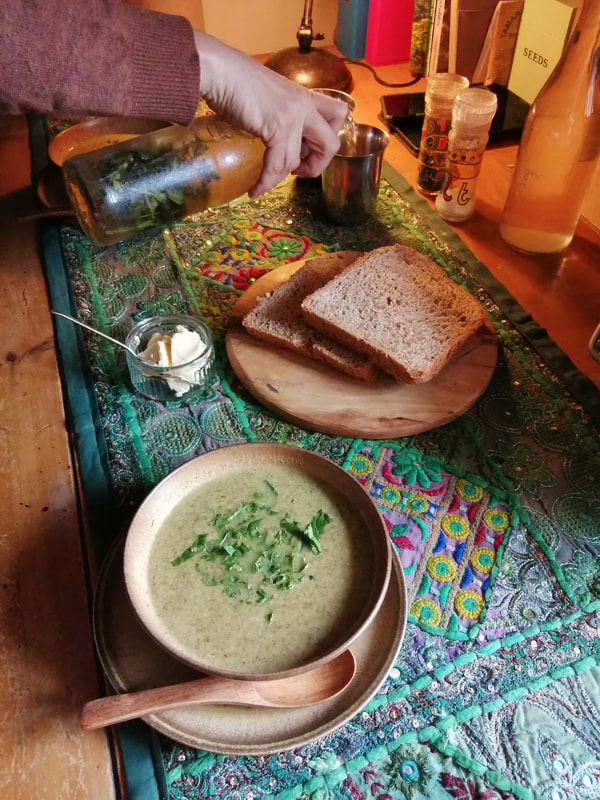
With those qualities (and more!) I think this would be a great dish if you're bouncing back from one of those spring colds that seem to be rampaging about at the moment! It's got a distinctive flavour, slightly more like kale or cabbage* than spinach, a little bit lemony, quite sour and slightly bitter. There are, of course, hundreds of sorrel soup recipes out there but here's my version!
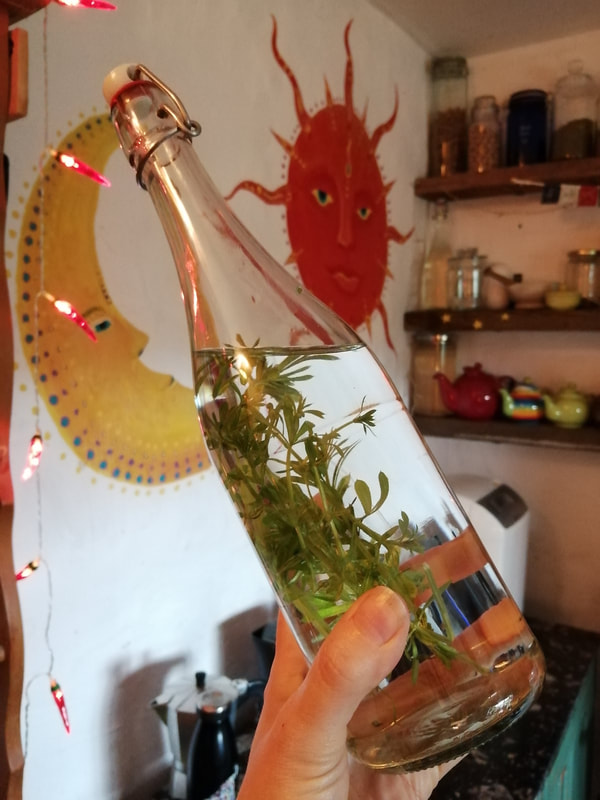
A while back I mentioned cleavers as a seasonal ingredient to my 'spring tonic tea' but I've been enjoying it as a refreshing, soothing medicine all on its own in the last couple of weeks, so I thought it was worth revisiting.
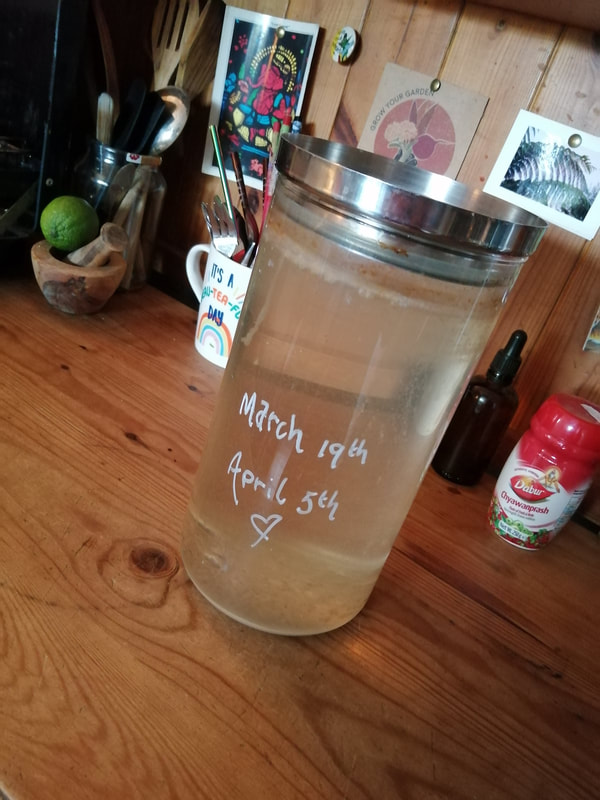
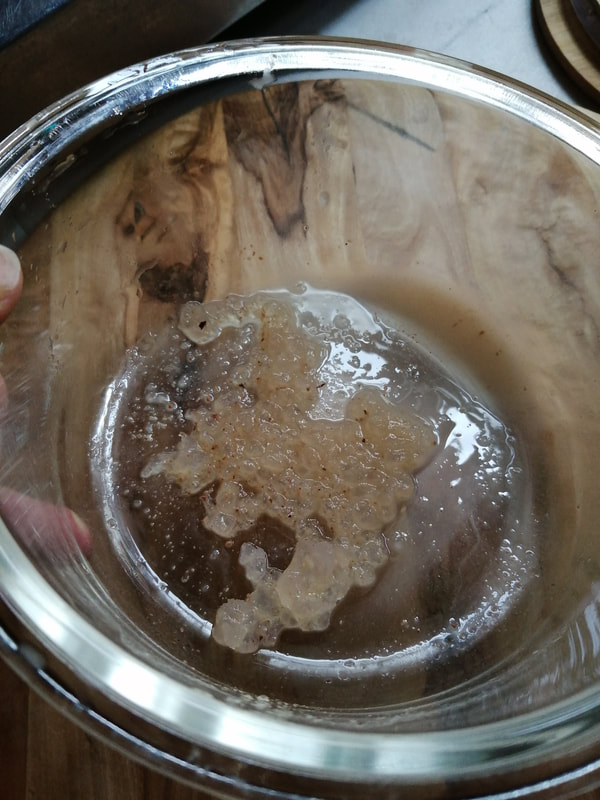
I once had a kombucha scoby (that's another kind of bacterial colony that likes to drink tea instead of water or milk), which looked like something from a sci fi film or the shelves of the Huntarian collection but was also an enjoyable way of introducing some healthy bacteria to the microbiome. It was pretty easy to care for but I know of no fermentation** easier than good old water kefir. There are a plethora of instructional videos and web pages online that will instruct you in the correct care of kefir, but I inherited my knowledge as I inherited my culture and with a little bit of trial and error, as well as the occasionally neglectful 'oh, great, I didn't kill it!', this is how I have learned to care for ours. If you don't know someone who can gift you some kefir 'babies', you can order them online, in which case I would suggest following the instructions that come suited for your particular culture. But here's what I do, to give you an idea if you're considering introducing kefir to your home brew options!
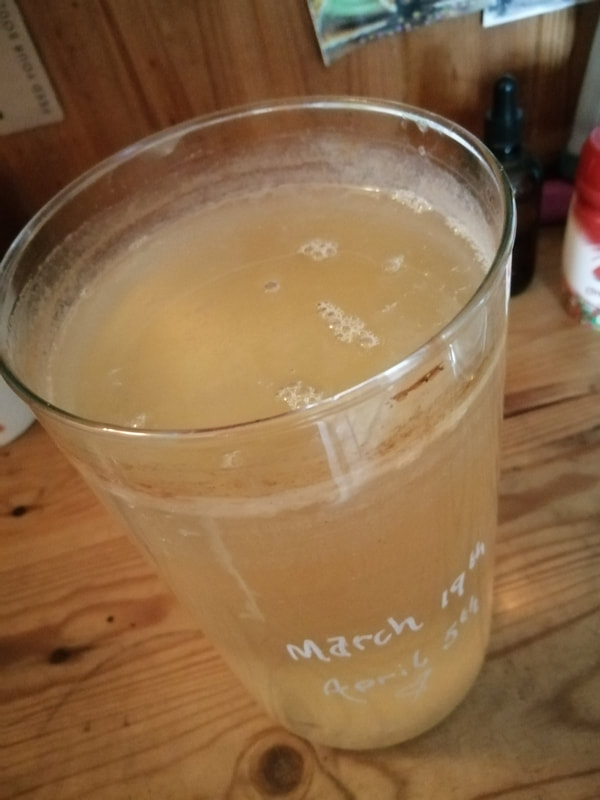
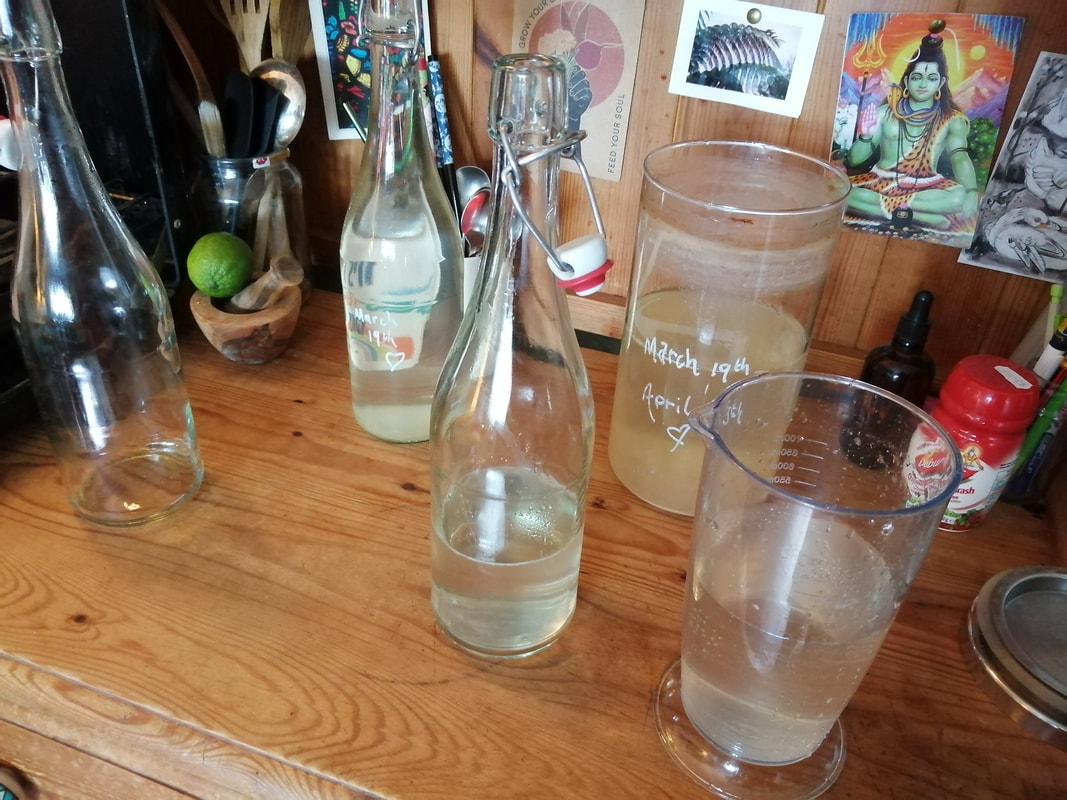
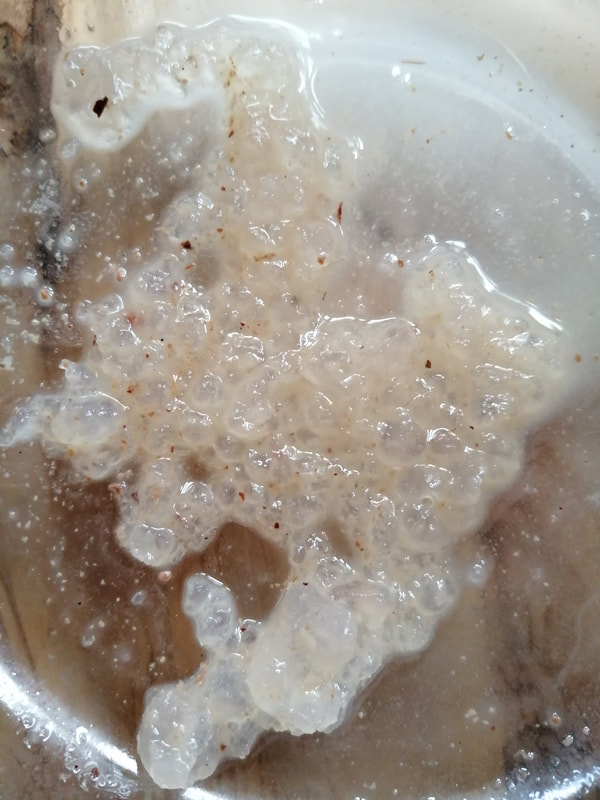
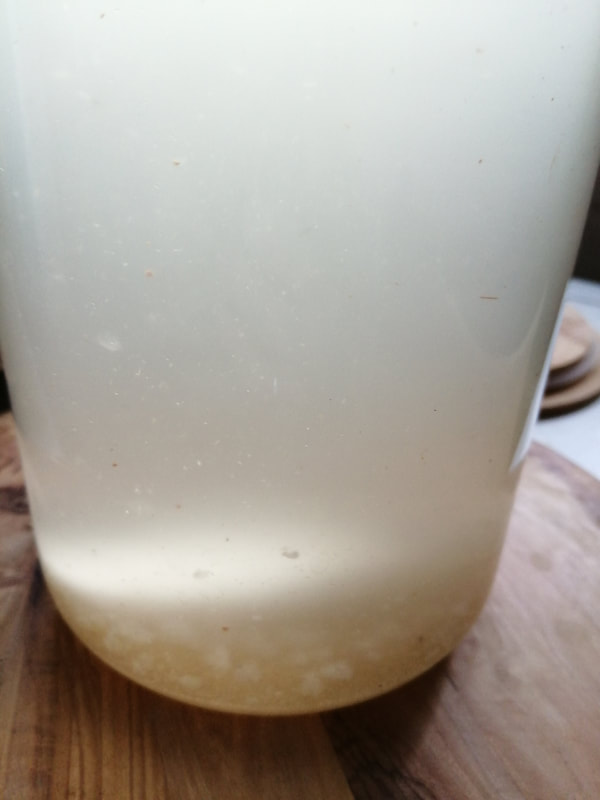
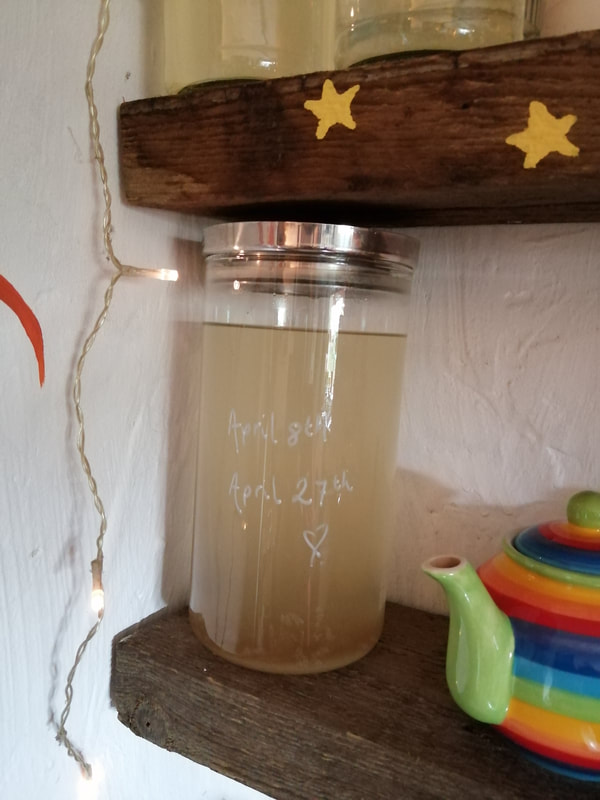
One of the reasons I find it easy to accidentally miss the intended date of bottling the kefir is that I do stick to the instructions I was given about only using boiled water. Of course, to use freshly boiled or even hot water would kill the bacteria, in fact, I guess the reason for boiling it is to ensure you've only got the 'friendly' stuff, so you need to plan ahead at least as far as the time it takes for boiling water to become tepid. Ideally, I do it the night before and leave the water in a covered jug until the morning but I'm just not always that organised! You can flavour your kefir by making an infusion at the point of boiling the water. Those dusty old fruit tea bags languishing at the back of the cupboard would work very well, as do ginger and subtle herbs like bay. I've experimented with various flavourings but recently I've decided I just like plain old kefir... You'll want to go through your own process of trial and error with that one! Once the water (or infusion) is cool, it's time to bottle the previous batch. As the kefir cultures all hang out at the bottom, it's quite easy to just pour most of the fermented liquid off the top but I find pouring it into a jug before approaching the bottles is by far the best technique for doing that, else I tend to spill a lot! I don't sterilise the bottles but of course you want to make sure they're good and clean. This is another opportunity to add flavouring by adding aromatic ingredients (such as rosemary sprigs or lavender flowers) to the bottle; but to be honest, I'm not sure how much of an effect that has on the shelf life of the drink and anyway, I like it plain! When I've (mostly) emptied the kefir jar it's simply a case of dumping six tablespoons of sugar on to the little gelatinous kefir babies in their remaining yeasty soup and then pouring the cooled water straight on top. The lid goes on, I date the jar with both today's date and the rough date I think it'll be ready on and then it goes back on the shelf to be forgotten about for another 3 weeks! I've not yet established how long the bottled kefir lasts once it's been filtered off the culture but that's because we're only really able to make about a litre and a half at the moment, which we've usually drunk before the next batch is ready! Going forward, I'm hoping the culture will grow enough that I'll be able to split it and get a second one on the go. Since we've got a cool kitchen it's not been growing very fast, but I gave it a little extra attention today and strained off more of the cloudy, yeasty goop at the bottom to establish that it has grown a bit over the months I've had it. I'm hoping with a little patience and a few more months we might well be able to stagger the bottlings and add even more probiotic tastiness to our lives! *If you're treating any yeast infection or have been sensitive to yeast in the past, best not take water kefir.
**The fermentation process does produce a small amount of alcohol so if you need to avoid it, this isn't for you! Xx
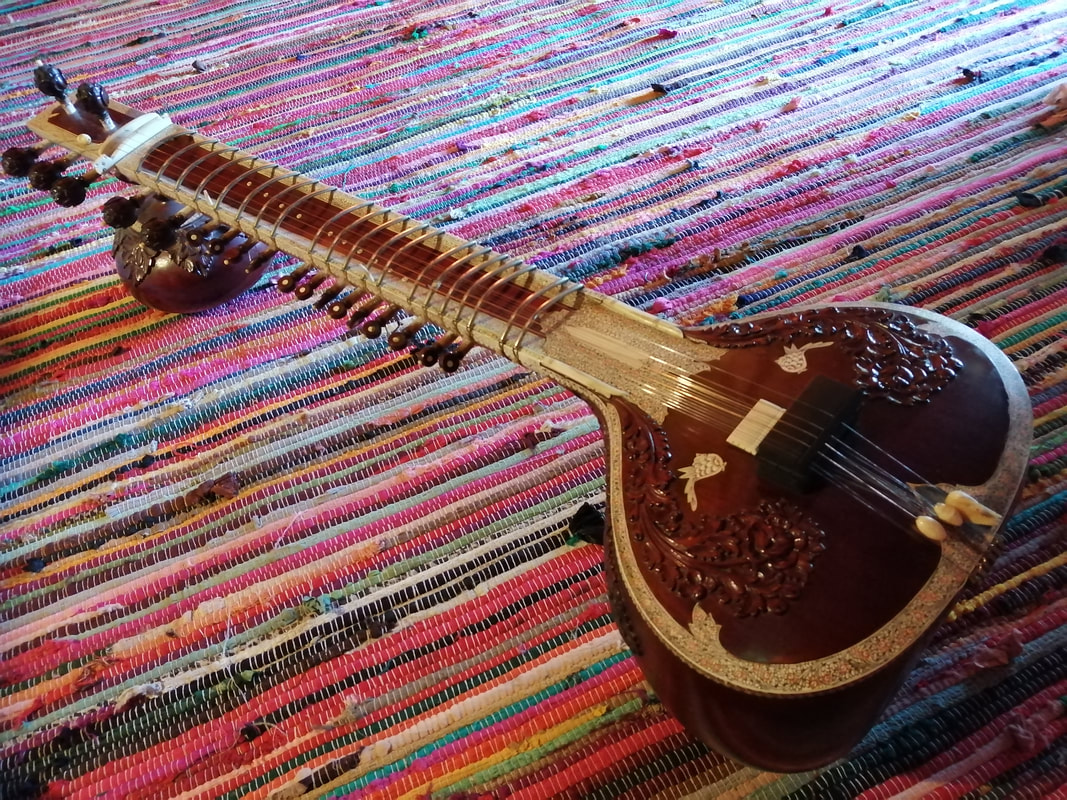
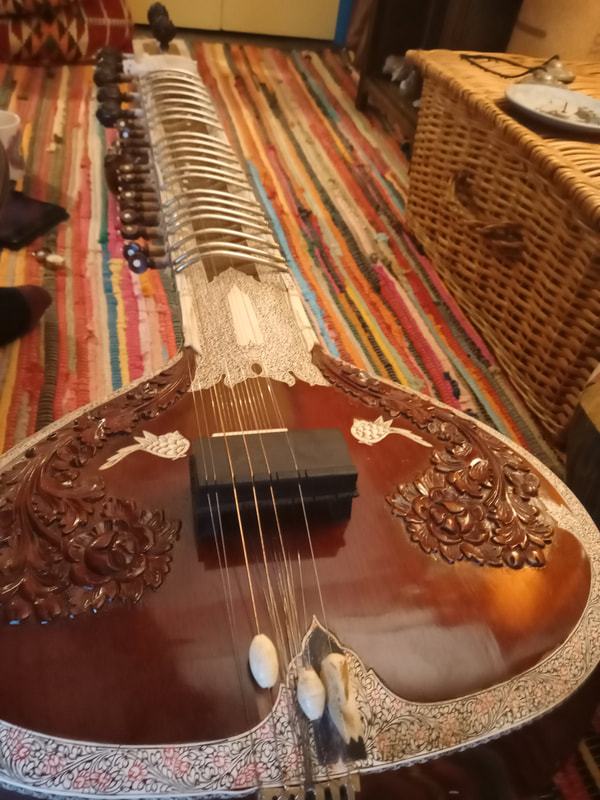
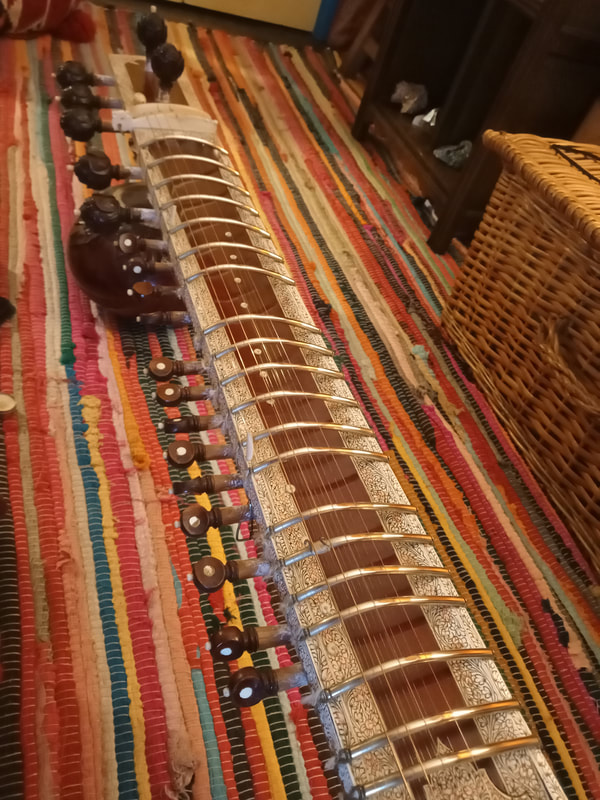
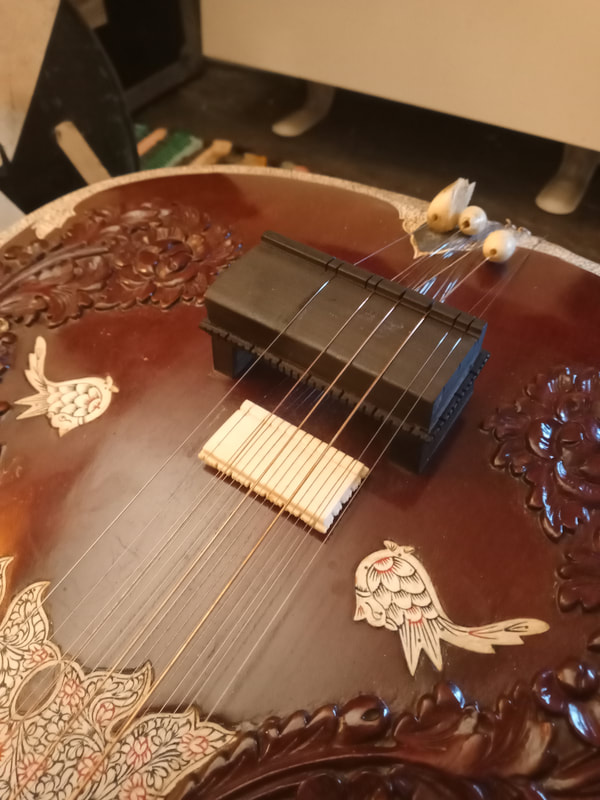
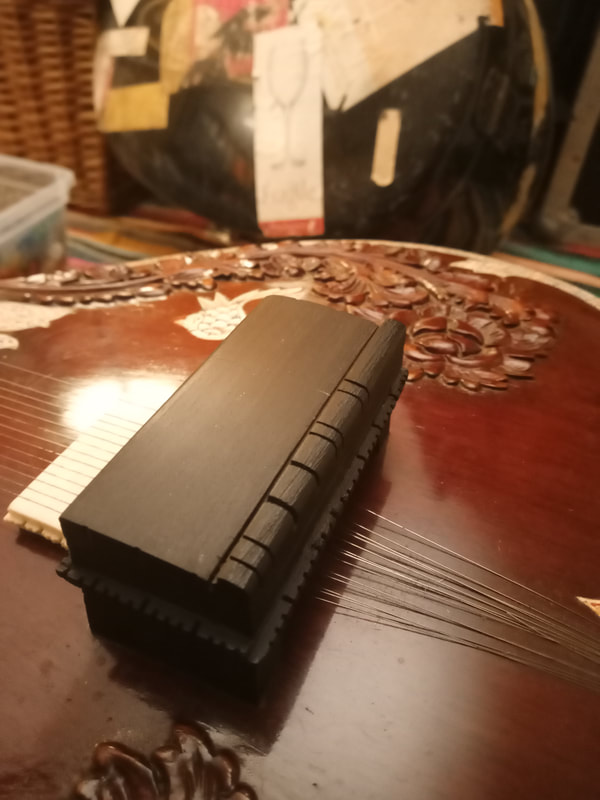
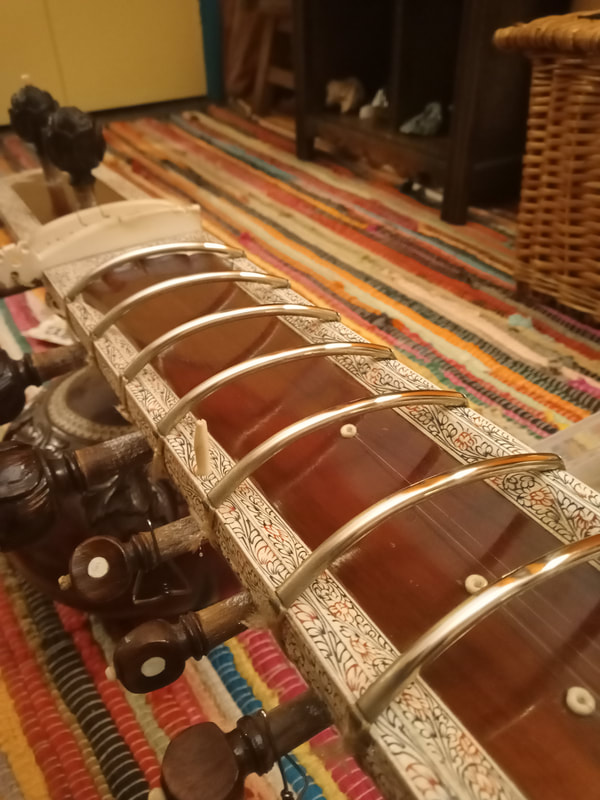
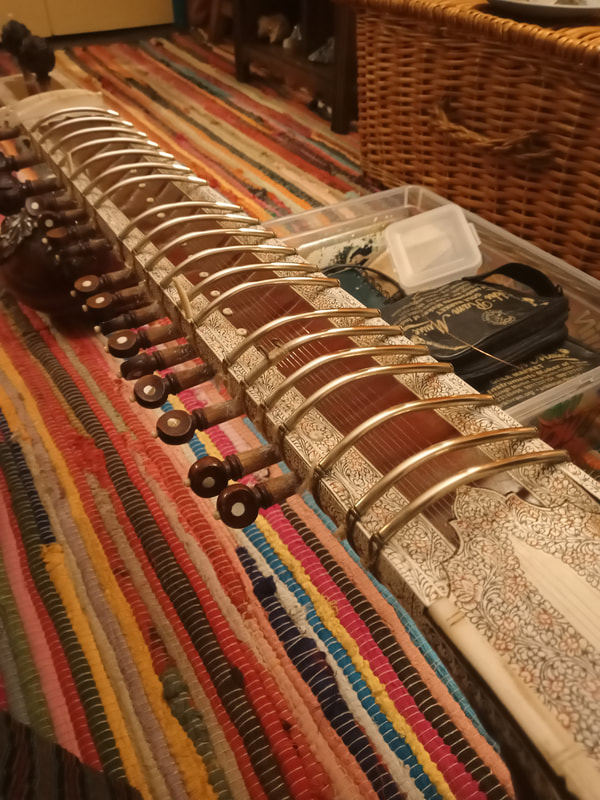
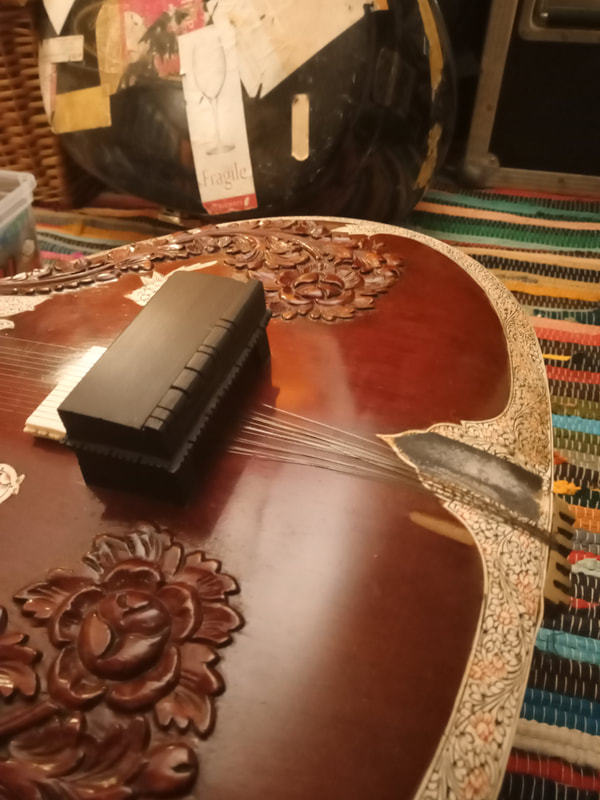
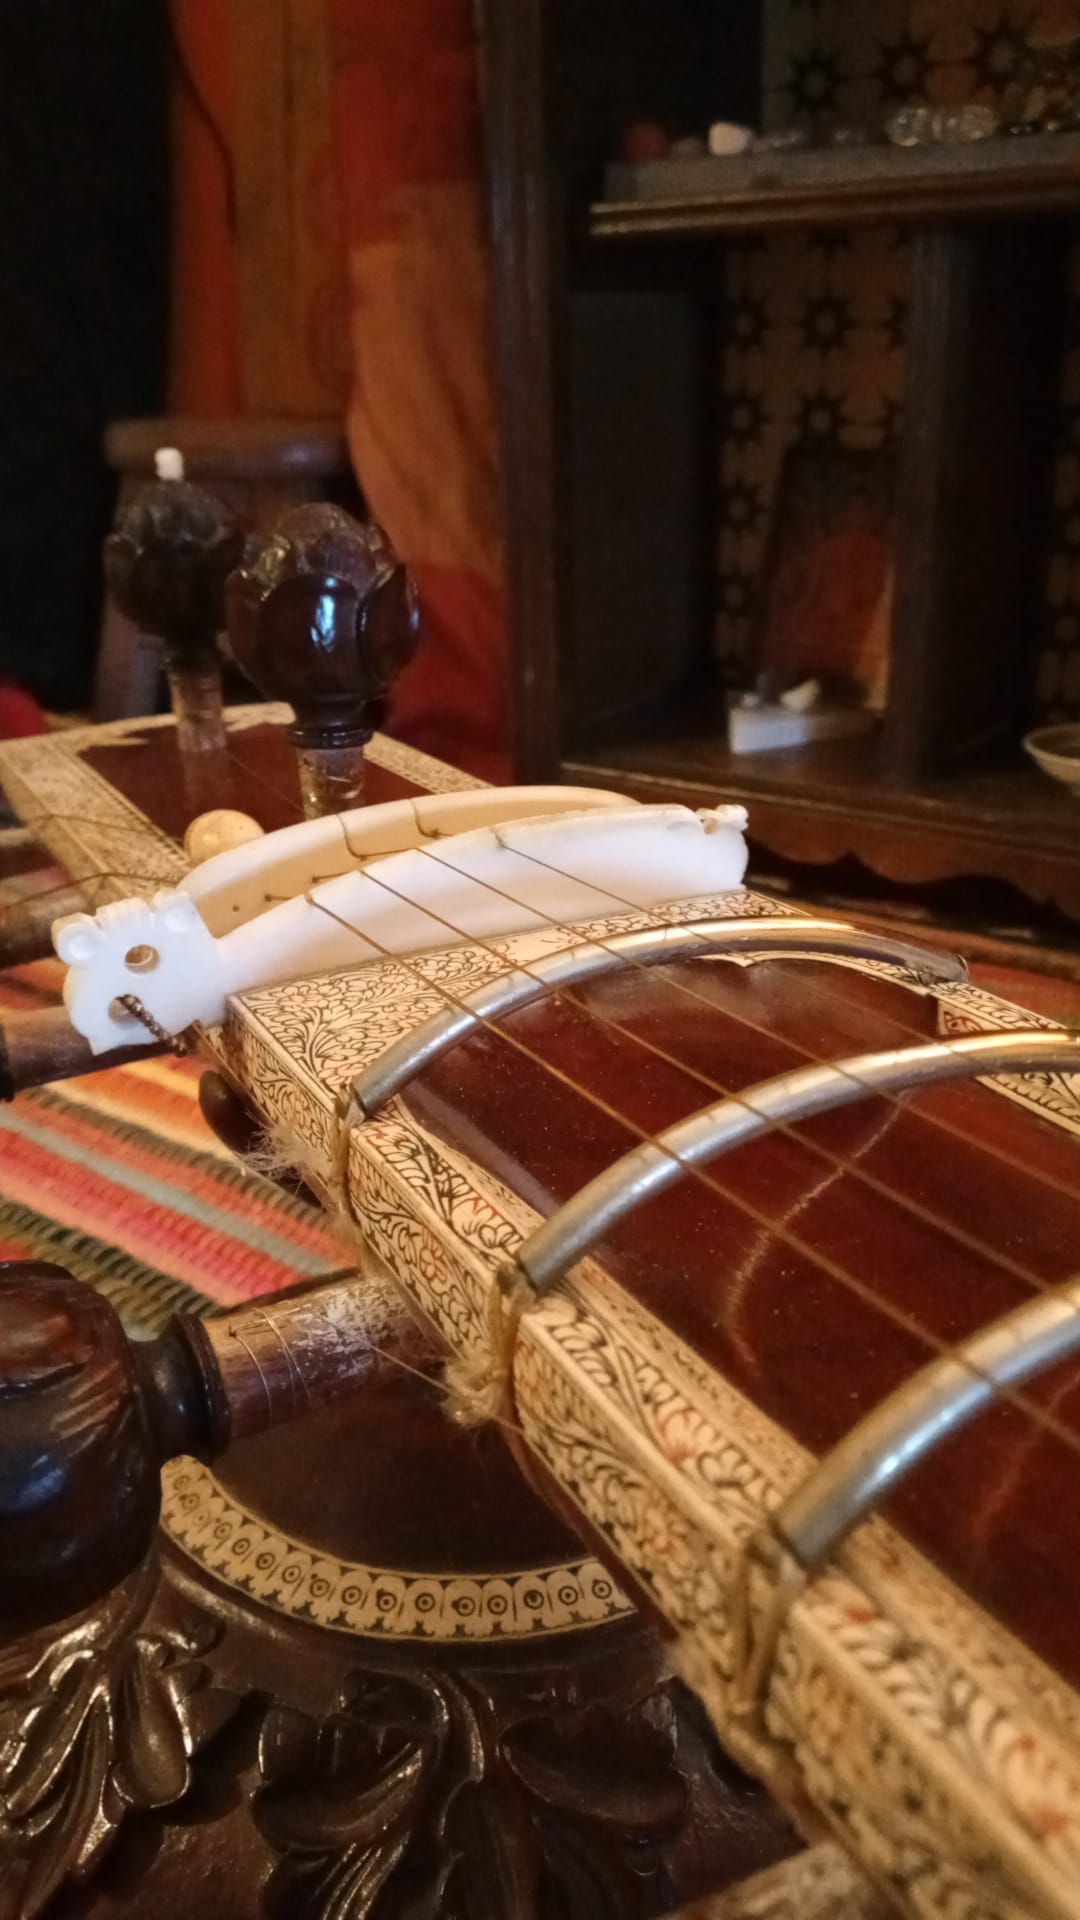
I played bass guitar for many years before taking up the sitar, for which maintenance is as simple as changing the strings. Maintaining the sitar is as much a practice as playing the instrument. Even the great masters would take their sitars back to their maker because servicing done well is as skilled a task as making the instrument in the first place! After servicing my sitar to the best of my abilities, I feel much happier with the sound, which inspires my practice! Having said that, I can’t wait to get back out to India at some point soon!
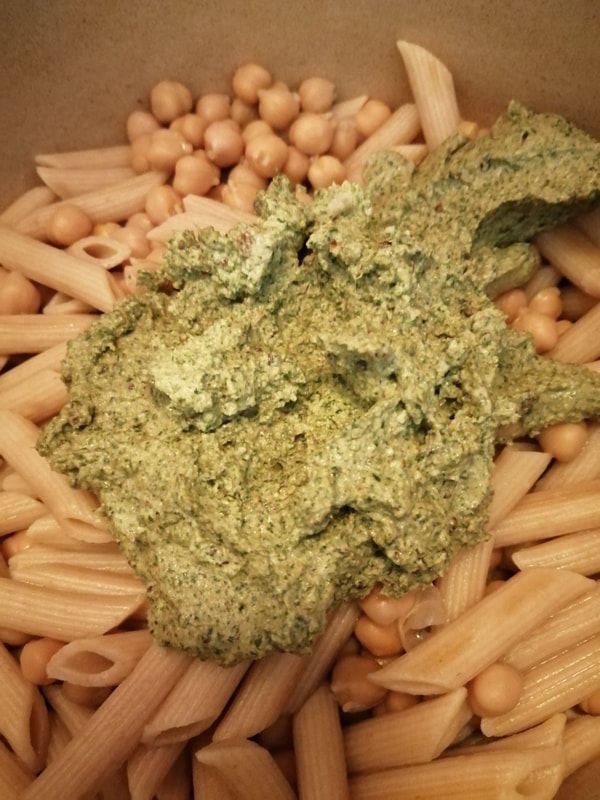
We can thank (or maybe blame!) the Romans for introducing this cousin of the carrot to our shores apparently, as they were fond of using it for culinary as well as medicinal purposes. One of it's therapeutic uses is as a poultice for arthritic conditions, in fact it's also earned itself the name 'gout weed'. To eat, I think it tastes a bit like a cross between parsley and celery. You definitely need to select the new leaves not the mature ones though, they're a bit too tough and develop a more pungent flavour that would, shall we say, be an acquired taste!
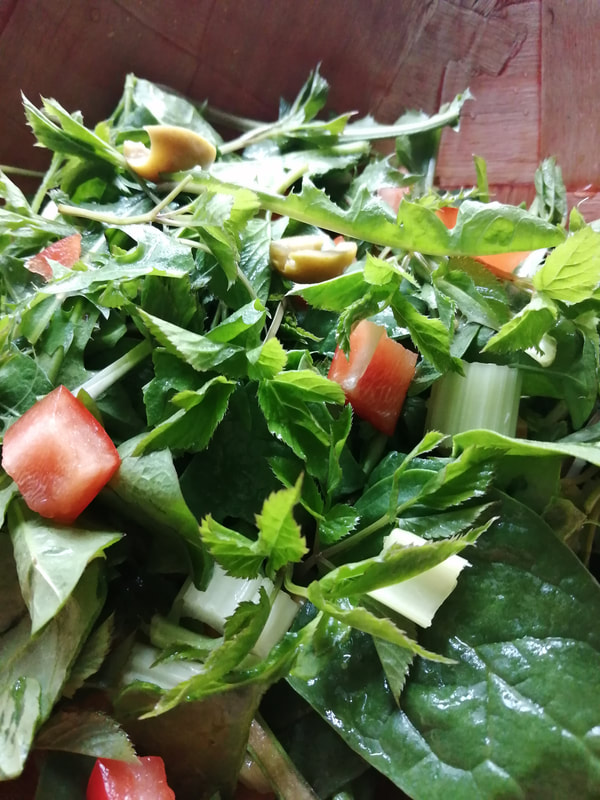
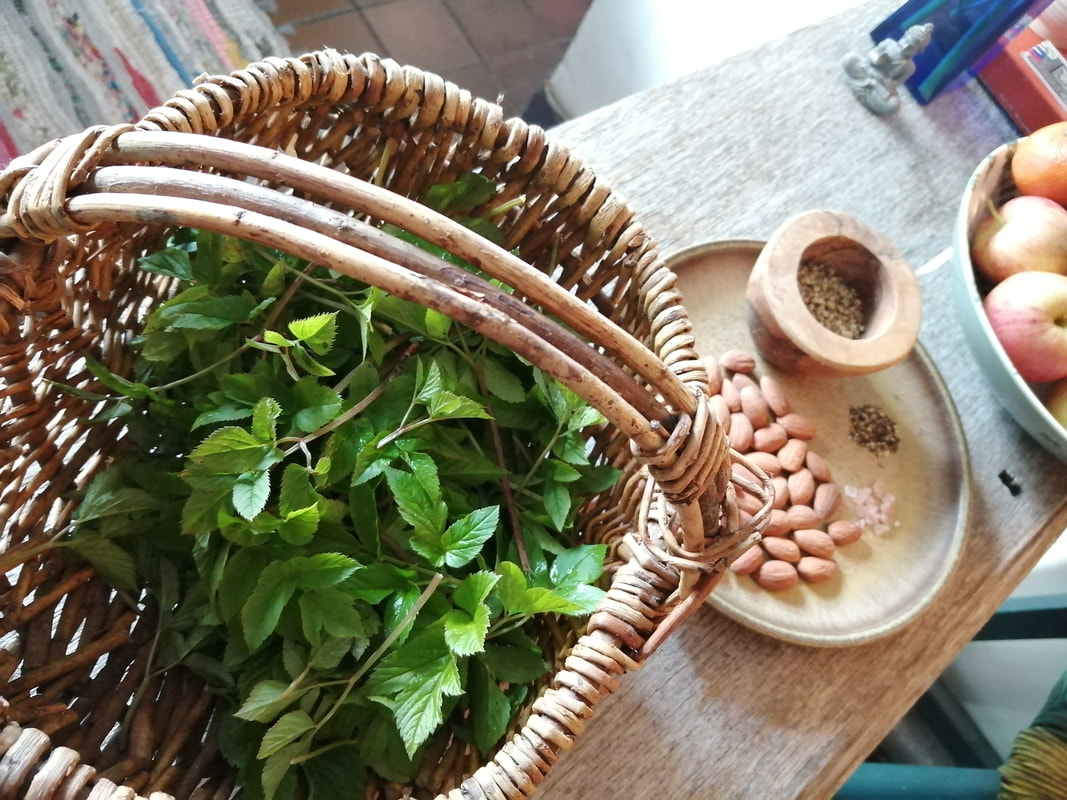
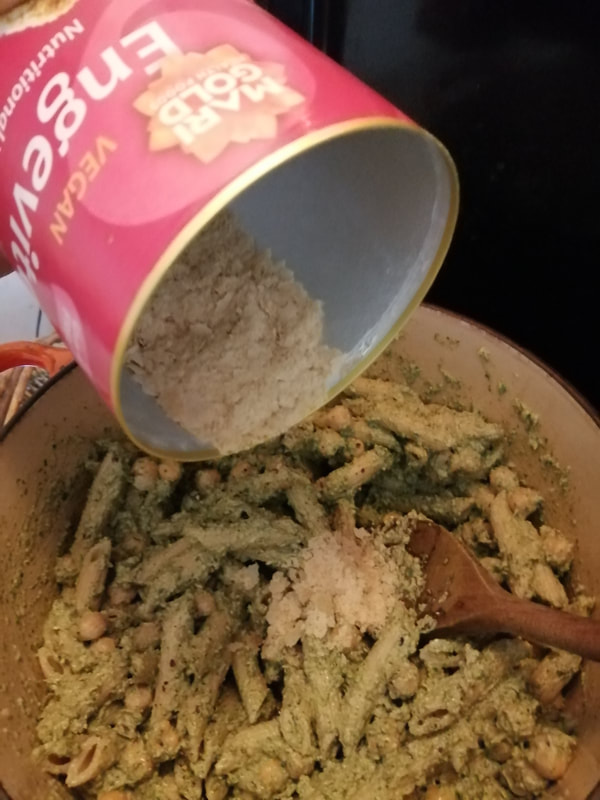
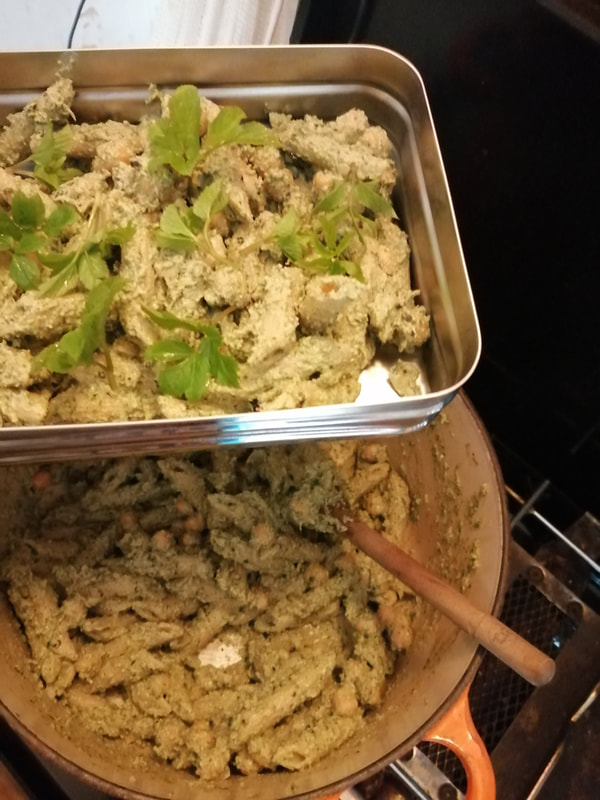
Fresh ground elder pesto pasta two days in a row and 'weeding' very temporarily crossed off my list of chores! Perfect! Wishing you an equally satisfying foraging-come-gardening adventure this weekend! May your tummy be full and your herb beds clear! With love until next time. Xx
|
We're Nik and Annabeth. This is Earth Heart...Read about the Earth Heart Project here... 
Reaching Out?
earth_heart@glittermouse.co.uk Categories
All
|


 RSS Feed
